

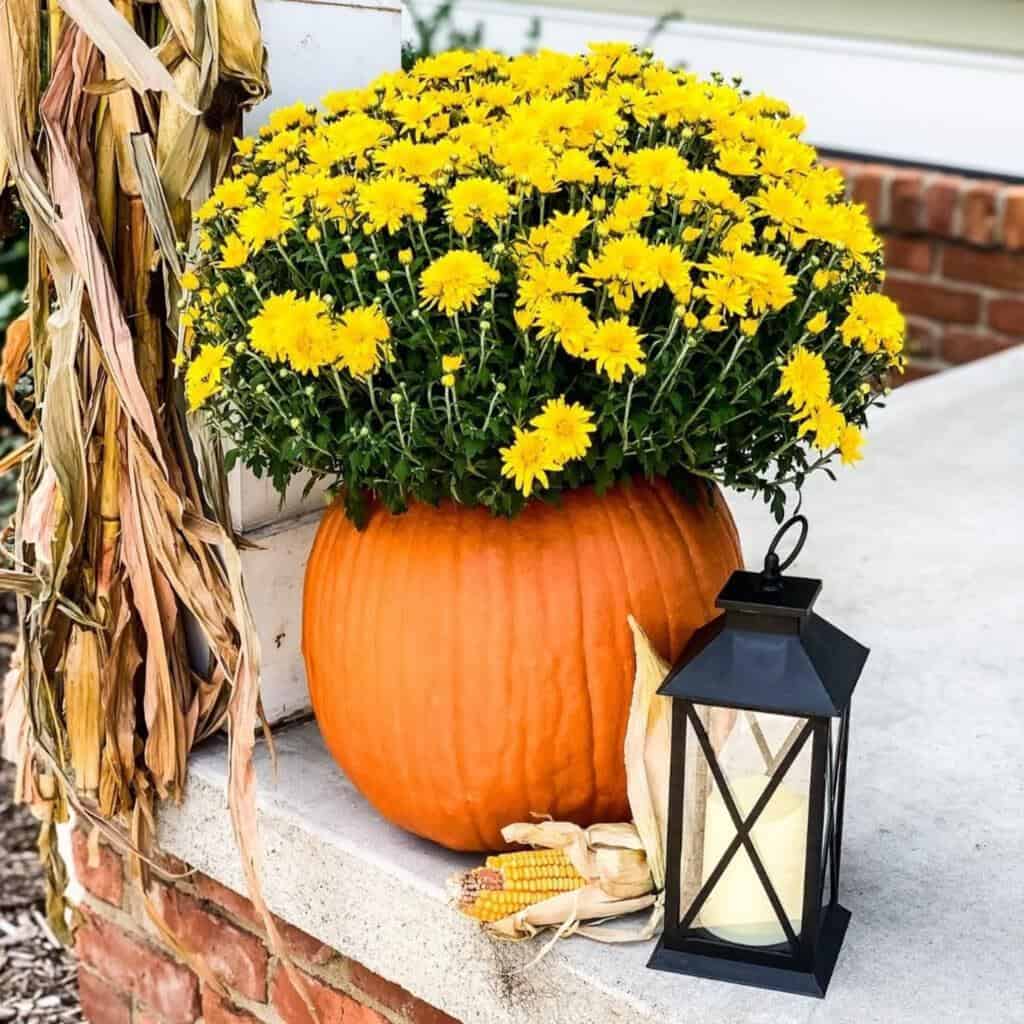
Turn a simple pumpkin into a stunning fall planter! With just a pumpkin, a mum, and a few basic tools, this budget-friendly project comes together in no time. It’s the perfect way to add a pop of color to your porch or tablescape this season. No green thumb required!
Looking for a fun and easy fall craft project? Try making a mum pumpkin planter! This project is perfect for beginners and can be done on a budget. All you need is a pumpkin, some mums, and a few other supplies. In this tutorial, I’ll show you how to make a fall mum pumpkin planter step-by-step. I’ll also give you some tips on how to choose the right mums and how to care for your planter once it’s finished.

Today I am joining some lovely bloggers, hosted by my friend Wendy from WM Design House, and we are bringing you some fun Pumpkin/Jack-O-Lantern DIY projects.
I want to welcome you to my Cottage in the Mitten! My name is Kim and I’m a native Michigander. If this is your first time here, I love sharing decor, my blankets, my weekly Mitten Moments, and life along the way. I’d love for you to join me regularly!

Can I Plant Mums Inside A Pumpkin?
The simple answer is yes! It is a popular fall craft project to make a mum pumpkin planter. However, it is important to note that this type of planter will not last as long as a traditional planter, as the pumpkin will eventually rot.
Filling the pumpkin with potting soil will extend the life of your fall planter, but for this project, I simply placed the pot directly inside the pumpkin.
Affiliate links are used in this post. Read my full disclosure here.
“I don’t see how a pumpkin patch could be more sincere than this one.” —It’s the Great Pumpkin, Charlie Brown
Can I Plant Mums In The Ground?
You can plant mums in the ground. The best time to plant a mum is in early spring. Mums need regular watering, especially during the first few weeks after planting. Water the plants deeply, but be careful not to overwater them.
In the fall, mums will begin to bud and bloom. Deadhead the spent blooms to encourage new growth. After the first frost, cut back the mum plants to about 6 inches tall. This will help to protect the plants over the winter. If you decide to plant in the fall it should be done at least six weeks before the first frost in your area.
Mums love sun and should get at least 6 hours a day, so keep that in mind if you are planting them in the ground.
Potted mums are hearty and can survive the cold winter months. They can grow well in zones 4-9, however, your best bet for them to come back annually is to plant them in the spring. This give the root system plenty of time to establish.

DIY Mum Pumpkin Planter Supplies
Friends, this DIY pumpkin project is so easy and budget-friendly, you’ll need very few supplies to complete it.
- 1 large pumpkin
- 1 9-10 inch mum
- Carving tools
- Permanent marker or pen
- Audiobooks Perfect for Fall Road Trips or Autumn Garden Clean-Up
- Mitten Moments
- 10 Cozy Fall Dessert Recipes & Sweet Treats for Autumn
- Mitten Moments
- How to Host a Cozy Fall Book Club Gathering
Choose the Perfect Pumpkin
Purchase a large pumpkin and mum. Choose a pumpkin that is the right size for your mum plant. The pumpkin should be large enough to accommodate the root ball of the mum, but not so large that it will overwhelm the plant.
My favorite pumpkin cleaning tip
To prevent mold and fungus, I wash my pumpkin with warm soapy water and wipe it down with vinegar before starting.
Side note, pumpkins can be expensive if purchased at a farm or orchard. My local grocery store had huge pumpkins that were 2 for $10. I think mine weighed about 30 lbs! Here in the Mitten, pumpkins are going for about .60 plus cents a pound, so the grocery store price was a steal!

Decide what color of mum you want to use for this project and then purchase your mum.
Remove the mum from the container, being careful not to break apart the root system, and then set the mum aside.

Prep Your Pumpkin
Next step is the messy part. It might be a fun memory from your childhood, too. At least it’s one of mine!
You will need to cut the top off your pumpkin and clean the out the inside. Once the pumpkin is clean, take the container from the mum, turn it upside down on the top of the pumpkin, tracing the circumference onto the pumpkin.
I used pumpkin carving kit tools that I have had for years. The carving knives look small but let me tell you, they work great! Even though mine are old, you can still purchase them today.


After you get the pumpkin completely cleaned out, cut three holes in the bottom of the pumpkin for water drainage. Since I will be placing the mum directly into the pumpkin, I need any excess water from watering my mum to drain out.
To extend the life of your DIY mum pumpkin planter, cut drainage holes in the bottom of your pumpkin. If you find it to difficult to cut, use a large drill bit.


Create the Floral Arrangement
Carefully add your mum back into it’s original container, set into your clean pumpkin, and style it in your outdoor space for fall! Side note, mums thrive in full sun.
Wasn’t that so easy!?
You can create a smaller version of the pumpkin planter as a centerpiece for your kitchen table. See my recent autumn table in the post 10 Fall Tablescapes That Will Wow Your Guests.

Mum Pumpkin Planter – Frequently Asked Questions
How to Make a Fall Mum Pumpkin Planter on a Budget
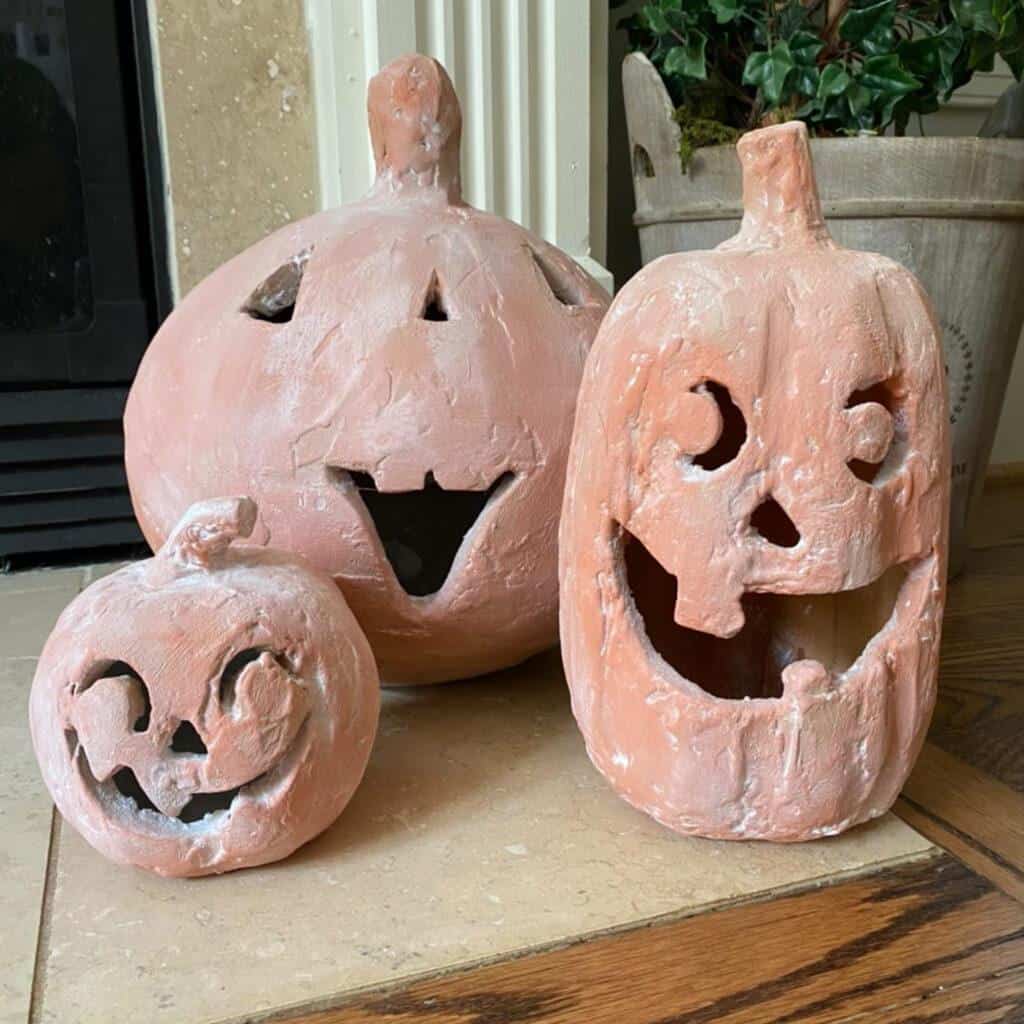
Next up on our Pumpkin/Jack-O-Lantern DIY projects tour is Regina from Saved From Salvage. She’ll be sharing how to make concrete pumpkins. You won’t want to miss it!
Thank you for stopping by today! I hope I’ve inspired you to make your own DIY mum pumpkin planter on a budget. Happy fall!

Don’t forget to follow me on Instagram and Pinterest!


Favorite Fall Finds


I love this idea Kim! You’ve created the prettiest of ‘pumpkin’ bouquets! Great hopping with you today! 🙂 Susan
Thanks, Susan! Such a fun day! Happy fall!
I love this, Kim. Such a great idea.
Thank you, Renae! It was a fun and easy project!
I love the idea of using a pumpkin as a beautiful vase for some mums! perfect decor for the front porch!
Thanks Meredith! It was such a fun project to do! Happy fall!
So cute, Kim!! Fun Fact…I have never carved a pumpkin!!!
Friend, you need to come to the Mitten so Big Al and I can carve some pumpkins with you!!!
This is such a great idea for a centerpiece, or just to enjoy on the porch. Great tip for the drainage holes, too!
It would be great in a centerpiece, too! Happy fall!
Love this Kim! Muns never last in NJ. The bright yellow with orange is pretty
Thank you! Happy fall!
Kim, I love this idea to put my mums in a pumpkin. This looks so pretty. Plus the pumpkin will keep the mums moist. I have made floral arrangement before but never used it for outdoor flowers. Beautiful idea!
I am having a rehearsal dinner at my house and going to do this for the front porch.
I’m so happy with how they came out. You’ll have to send me a picture of yours when you do them!
Love, love, love this idea! Such a great way to display mums! It was great to hop with you…I got some great ideas from all of you! Happy Fall decorating! ~Missy
Thanks so much, Missy! It was a fun hop!! Happy fall!
You are brilliant, my friend. Love the fresh mums in the pumpkin. Only you would think to drill drain holes, LOL! Thank you for making our blog hop a success.
You are so kind, friend!! Thanks for hosting! Happy fall!
What a great idea! Of course pumpkins should be planters – it only makes sense! Wish I had thought of it :). So happy to hop along with you!
So nice to hop with you! Thanks for your kind words. 🙂
What a splendid idea! Looks super cute.
Thank you!!
Kim
I love this idea. Thanks for sharing on the round up today.
Thanks Rachel, and thanks so much for hosting!
I love your pumpkin planter, Kim. It turned out beautifully. And absolutely perfect for fall!
Thanks Jen! Such a fun and easy project.
This is the cutest idea ever!! I will be trying this DIY this Fall, thank you for sharing!! 🙂
Oh, fun! Glad you like it!
wow Kim such a great idea !
Thanks Stacy!
Such a cool idea Kim. I never thought of putting drainage holes in with a drill. What a smart idea. I also love all of your fall picks especially the multi colored pillow and the amber glasses. You have great taste my friend.
Such a great idea!
Thanks Stacy!
This is such a fabulous idea, Kim! I love how it easily dresses up a porch or you can use it inside to add a festive layer for Fall inspired parties and tablescapes. Plus, it would be a sweet gift to leave for a loved one or neighbor. I can’t wait to try this and will share on Thursday too. Loving and pinning as always. Big hugs, CoCo
It would be a great gift for the fall season! I appreciate you sharing, Coco! Be blessed!!