

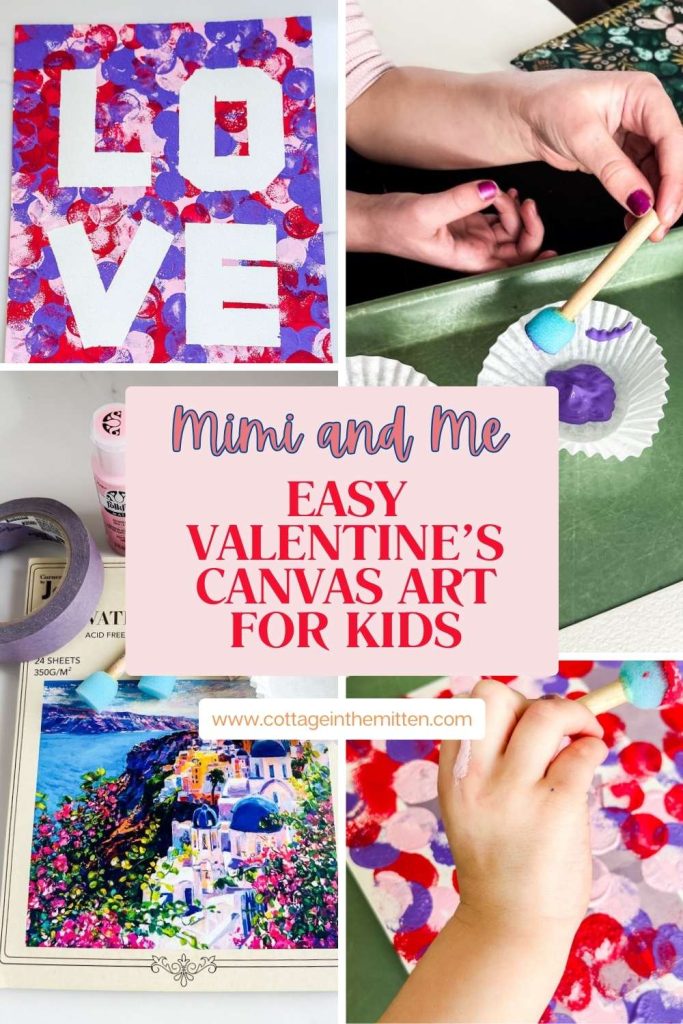
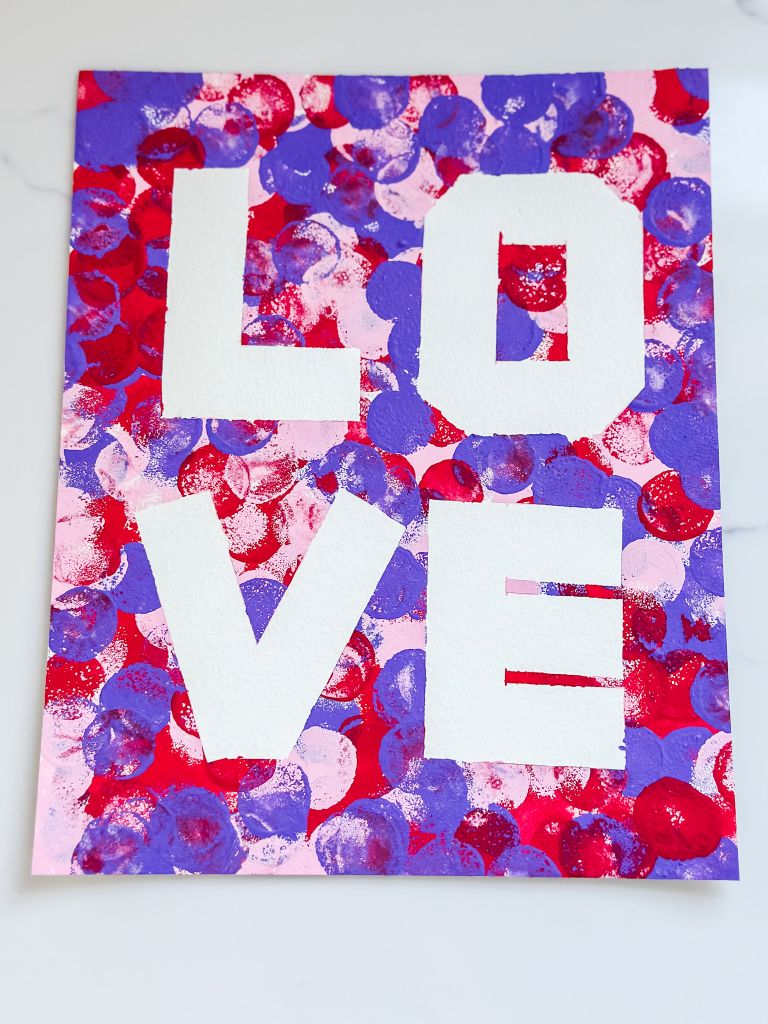
Hey friends! Looking for a easy and joyful Valentine’s Day project to do with your littles? My latest Mimi and Me craft project is all that and more! We created a beautiful LOVE canvas using a fun tape-resist method where simple masking tape protected the letters while my the little artists got to dot and dab with paint. It’s a mess-managed craft, full of pretty colors, and the final reveal was a moment of pure child-like delight!
Affiliate links are used in this post. I earn a small fee by linking to their sites. Read my full disclosure here.
“There’s no bad consequence to loving fully, with all your heart. You always gain by giving love.” – Reese Witherspoon
Why Tape-Resist Dot Art is the Perfect Kids’ Craft
I feel like most children love a good craft project. Of course, they don’t mind getting messy, and the satisfaction when complete is priceless! From this Mimi’s point of view, crafting with littles is a beautiful, joyful and many times messy journey, but always worth it!
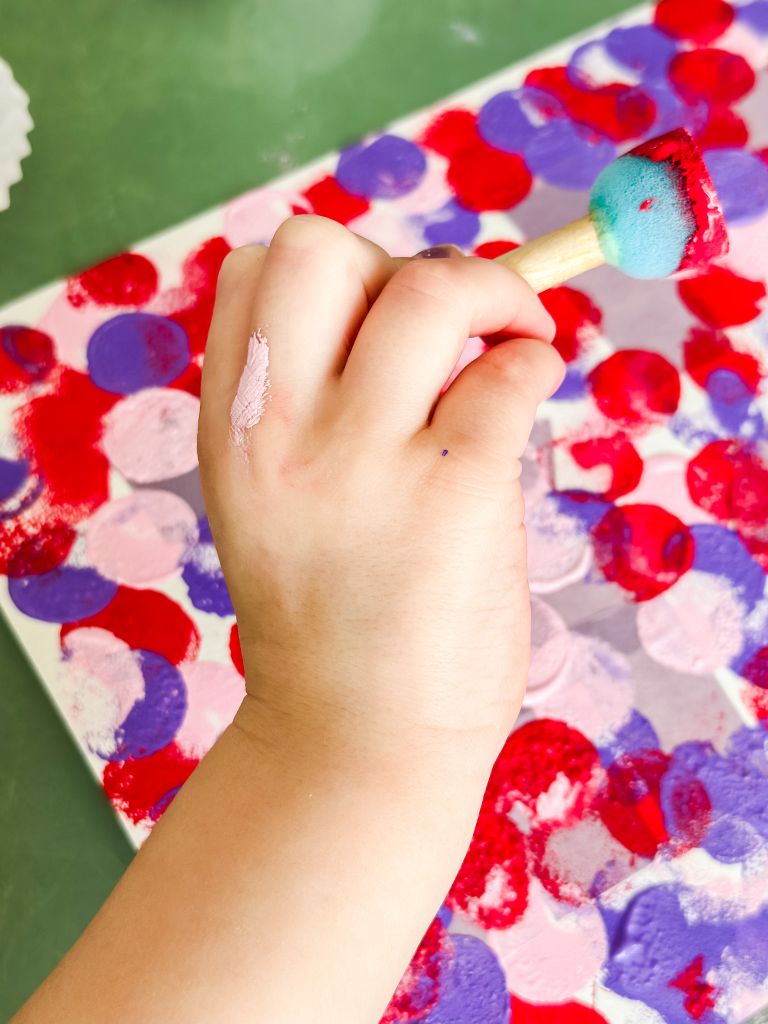
This project is so good for their fine motor skills and hand-eye coordination as they aim their daubers to create those pink, red and purple dots. The best part? It’s virtually fail proof. Because the masking tape protects the word “LOVE” underneath, your littles can dot away until their heart’s content without ruining the design!
Supplies You’ll Need for This Valentine Project
I’m keeping things simple with just a few basic materials that allow the kids to be as creative as they want while keeping the mess to a minimum. Before you bring the littles to the table, gather these essentials to make your very own masterpiece!
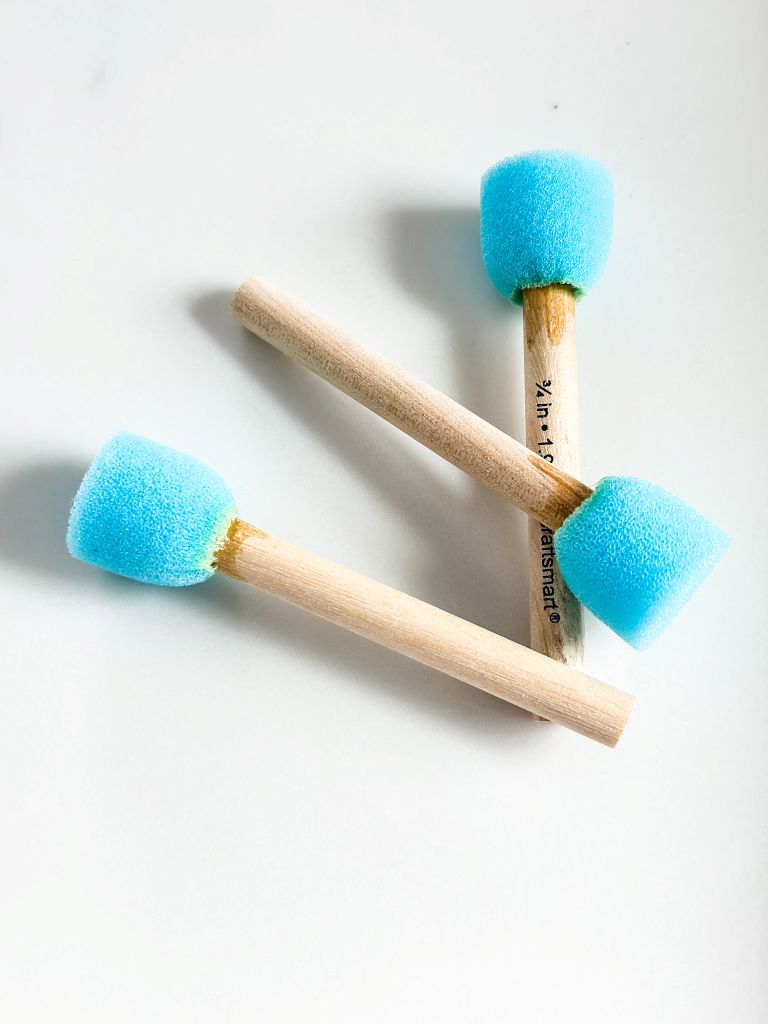
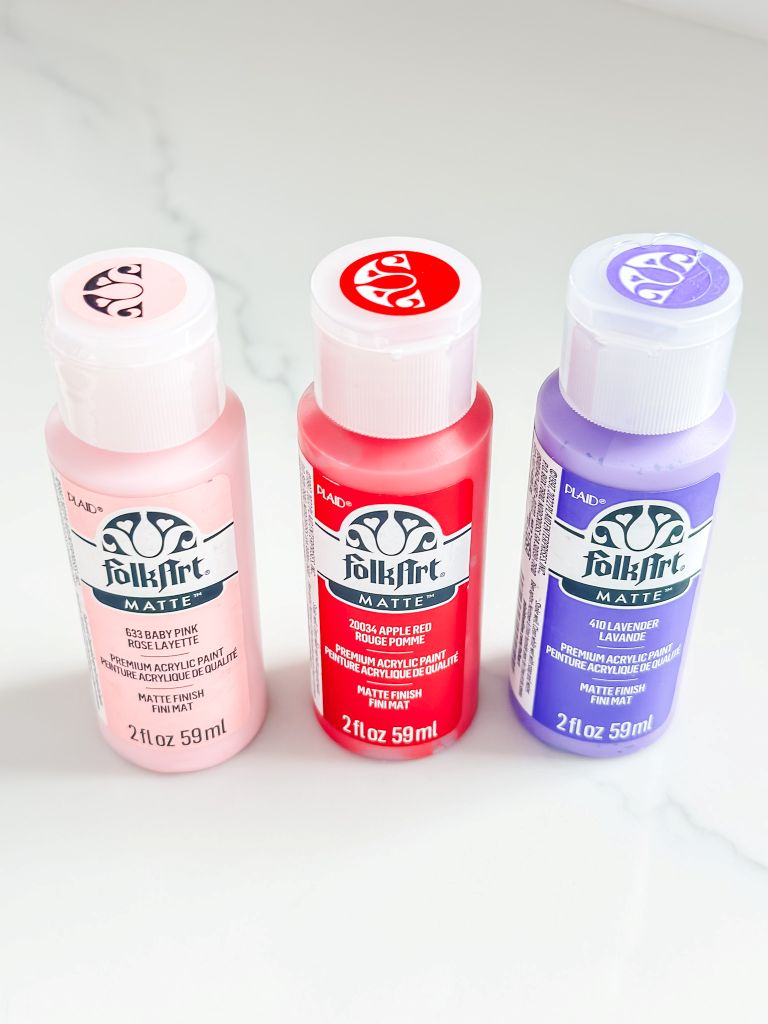
Valentine Supply List
Let’s Make It! Simple Steps for Little Hands
Now the fun starts! This is a relaxing and fun project for you and your favorite littles. I’ve broken it down in just a few easy steps for you.
Taping off the Word LOVE
The taping will need to be done by your hands in order for it to have nice crisp lines. It’s also important to cut the masking tape in straight lines. Press each piece of the masking tape firmly down along all the edges of your letters. Doing so creates a seal that keeps the paint from bleeding underneath. Let your little helpers smooth the edges of tape down. It’s a great way for them to help.
I’ll be the first to admit, the “O” was a little tricky to create. You will have to use some small pieces and overlap them on an angle. One of my edges wasn’t as clean as I would have liked, but it’s ok! That’s the thing about crafting, sometimes it’s trial and error.
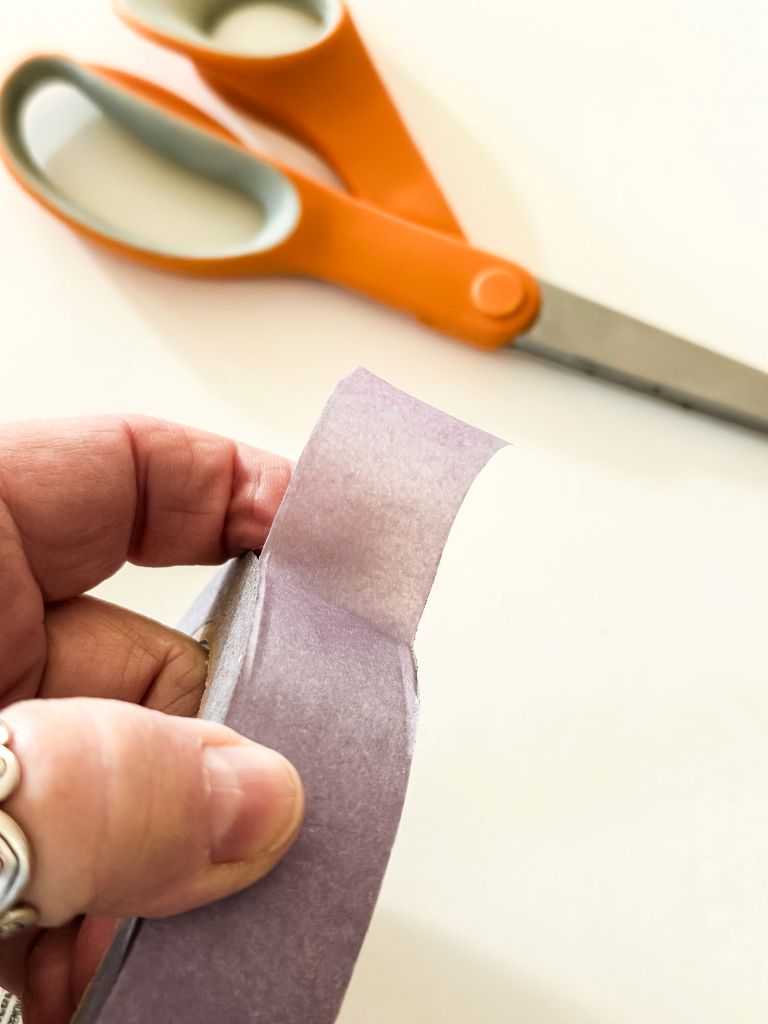
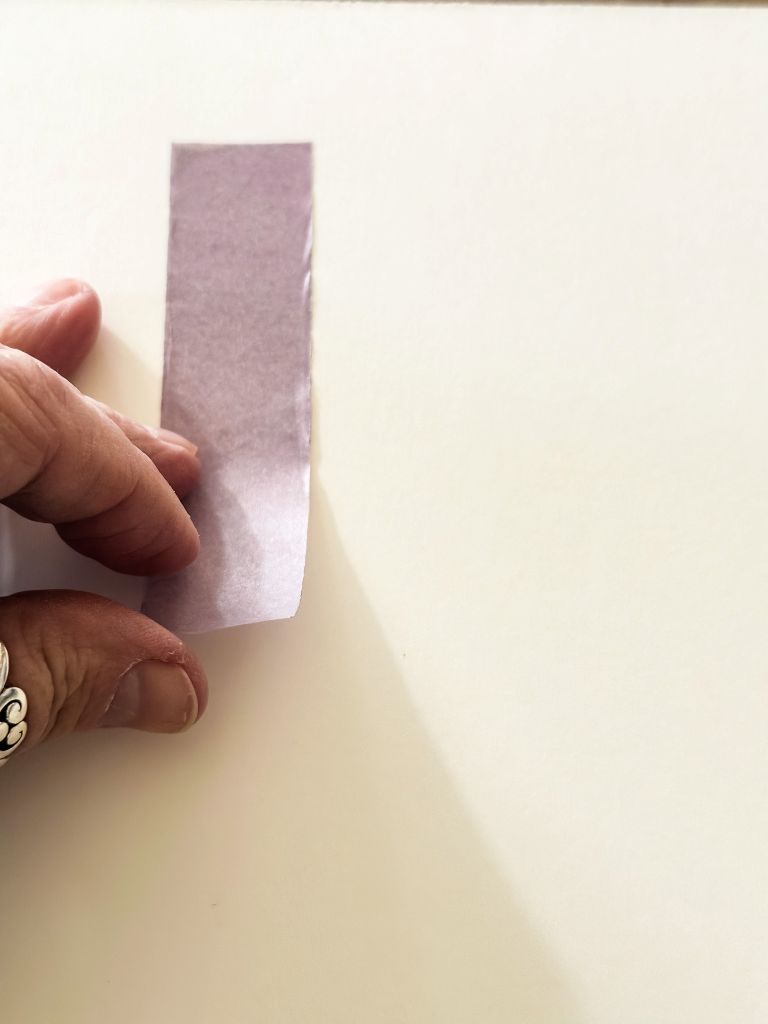
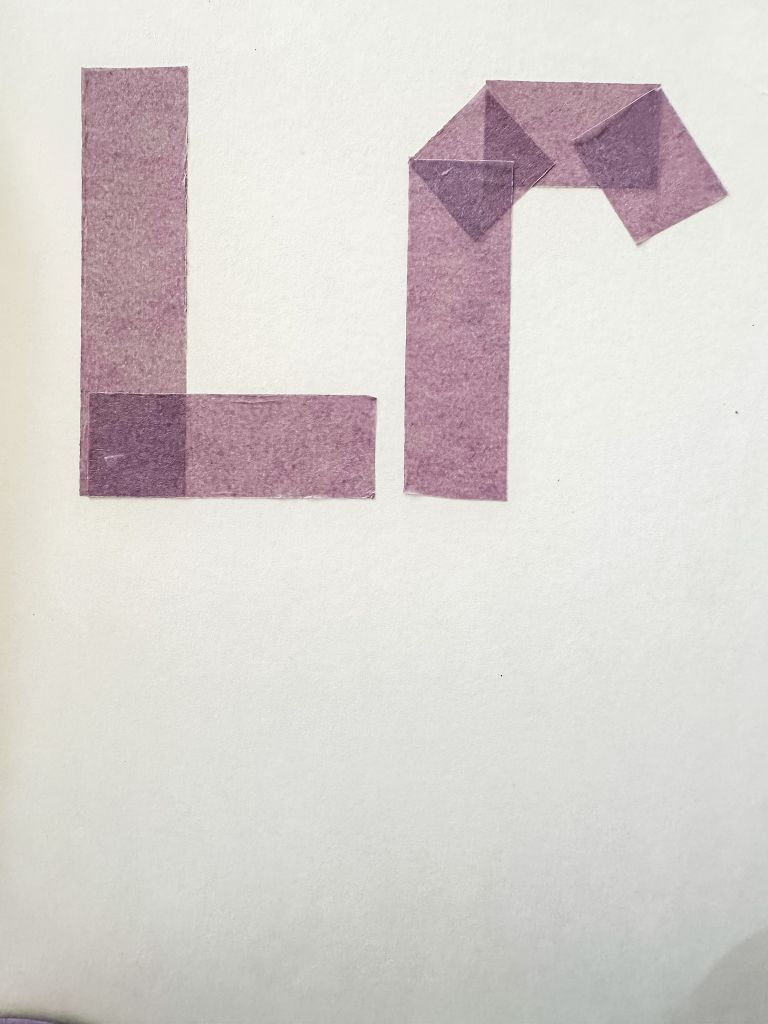
“Crafting is the art of turning ordinary objects into extraordinary things.” – Unknown
The Dot and Dab Process
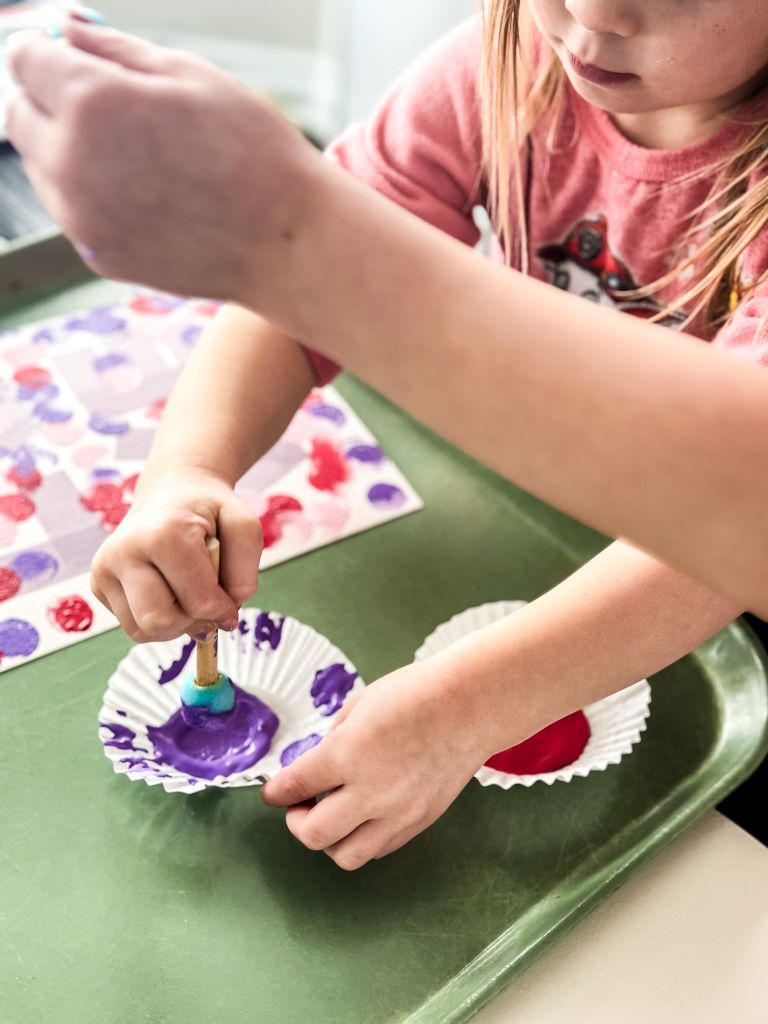
Before you let them start you need to do two things. First, make sure to protect your surface. I used a repurposed cafeteria tray, but craft paper or a disposable tablecloth will work great, too. Second, put a small amount of each paint color onto cupcake liners. The cupcake liners help keep the paint contained. Doing both will help you keep a tidy workspace and who doesn’t want less to clean up?
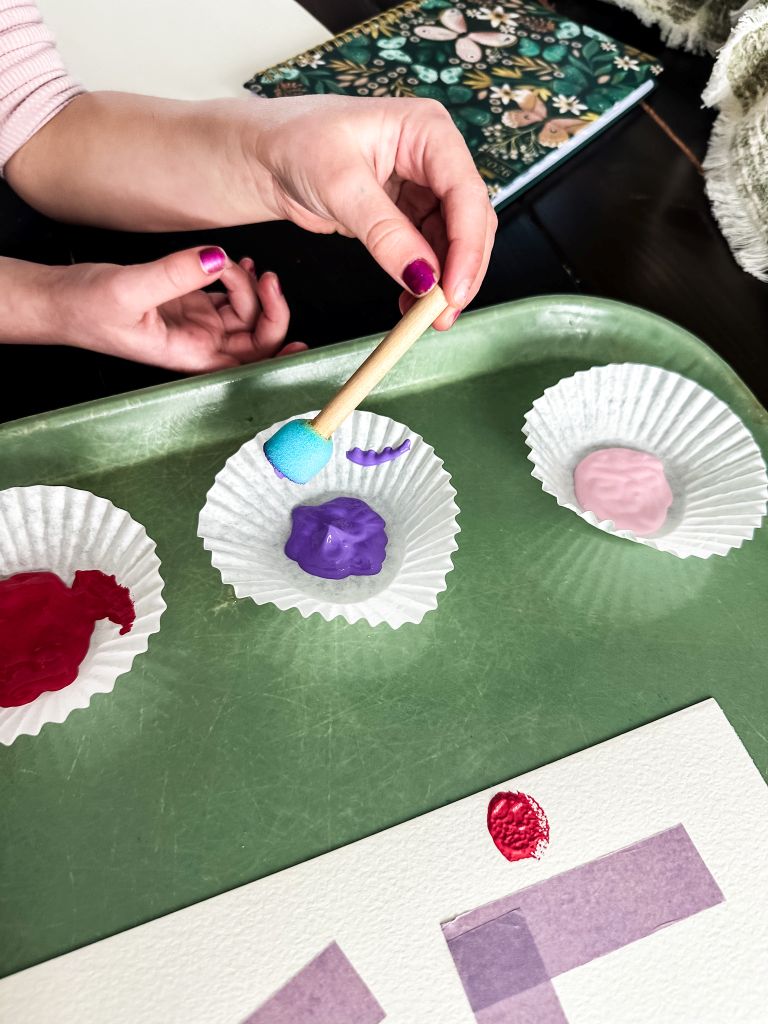
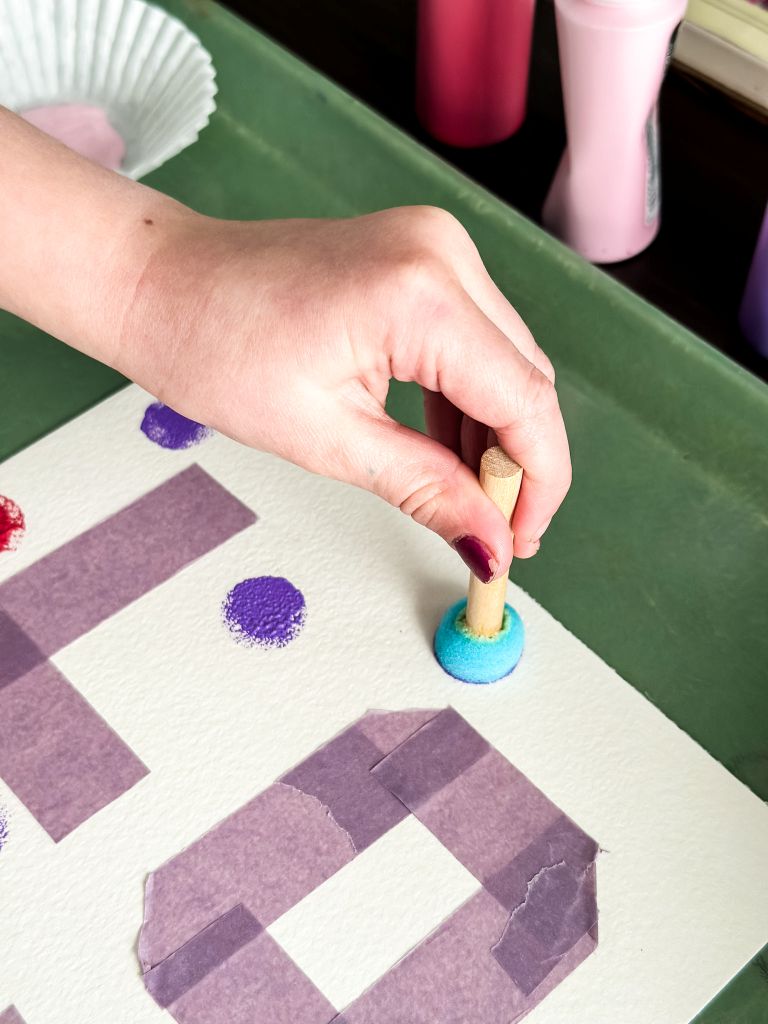
It’s now time to dot and dab! There is no wrong way to do it. The key is to cover the canvas with overlapping dots, changing colors and having fun! Encourage them to paint extra dots right along the edge of the tape. This will ensure that when you remove the tape, your LOVE letters will pop clean and bright against the colorful background.
The Big Reveal
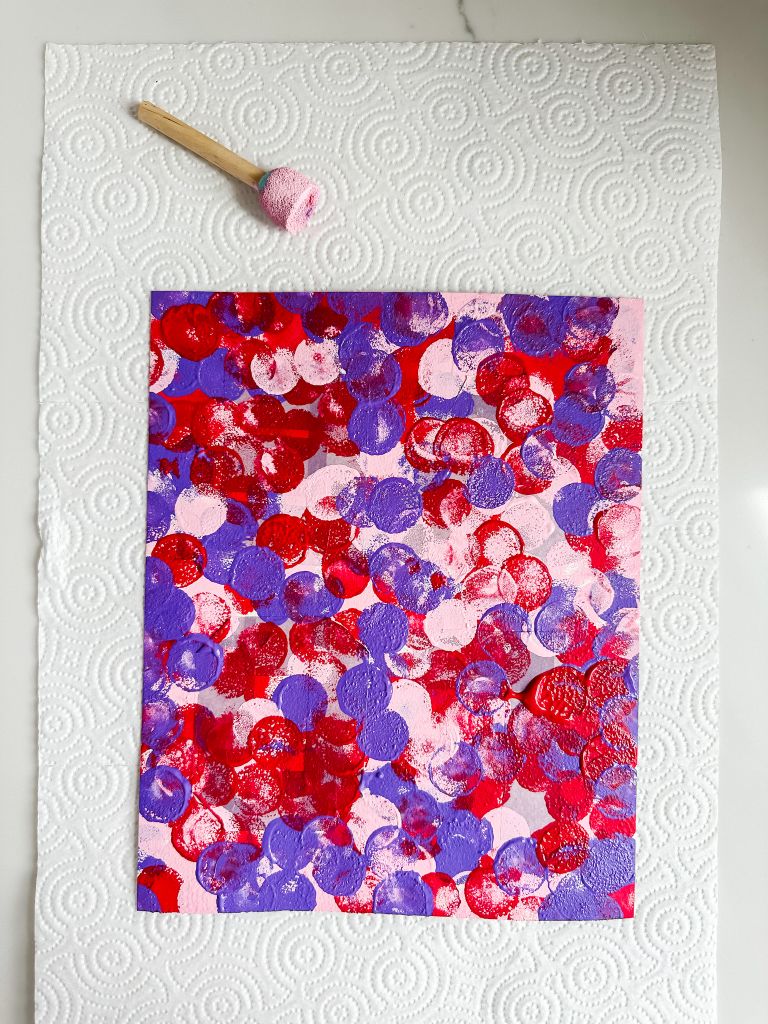
After the painting is finished, I transferred the artwork onto a paper towel to dry. This process can take quite some time. I waited about 3 to 4 hours. Once completely dry, you can begin to removed the tape. This is a job for you, not the littles. However, let them watch the big reveal and you watch their sweet faces as they see how amazing their project is!
Easy Ways to Display Your Child’s Valentine Art
Displaying the finished artwork is such an important part of the project. Your littles want to see their artwork in a place where everyone can see it. They are proud of their creation and you should be too!
You can simply stand the finished canvas on a shelf or mantle, but I wanted to give ours a little extra Valentine’s pizzazz! I placed the dried artwork in an inexpensive frame. Then, I took some thin red ribbon and twine, creating a bow, and hot glued it into the corner of the frame. (Hot glue guns are extremely hot and can cause burns. Please handle with care.)

Making Memories with Kid Crafts
I hope this dab and dot LOVE canvas brings a burst of joy and color to your Valentine season. Honestly, the true keepsake isn’t the artwork itself. It’s the act of doing it together with your favorite littles. Their crafty little hands and smiles are really where the beauty is!
Happy crafting!

Don’t forget to follow me on Instagram and Pinterest and Facebook!
amazon
Shop My Storefront
If you enjoy the home decor, DIY projects, and cozy finds I share here on the blog, you can find many of my favorite items in my Amazon storefront. Shopping through my storefront is a wonderful way to support Cottage in the Mitten, and it means so much to me. Thank you so much for being here and following along!





Kim this is so adorable. What a fun project! I love that you get to do these crafts and make such special memories with your grand littles.
Love this project. All the little hands tips. Sending this one to my son to make with gbaby for Mama. So easy. Adorable❣️
Thank you! It’s such a fun and easy project! I hope they get the chance to do it!
Kim, what a sweet craft project you made with the girls. I know they loved it. The cupcake liners were perfect for the paint. Too cute!
Yes, those cupcake liners kept the paint perfectly contained!
Kim this is a great project to do with the grandkids. I love seeing all of the fun that you have with yours.
Thank you, Elizabeth! They are so precious!