

Calling all my crafty Halloween enthusiasts! Are you looking for a way to add some spooky charm to your home decor without spending hours hunched over a sewing machine? If so, look no further than this easy DIY rag garland! This project is perfect for beginners and Halloween lovers of all ages. With a little bit of paint, colorful beads, some pre-cut wooden shapes from the dollar store, and some scraps of material, you can create this no-sew no-stress Halloween garland that’s sure to impress your guests!
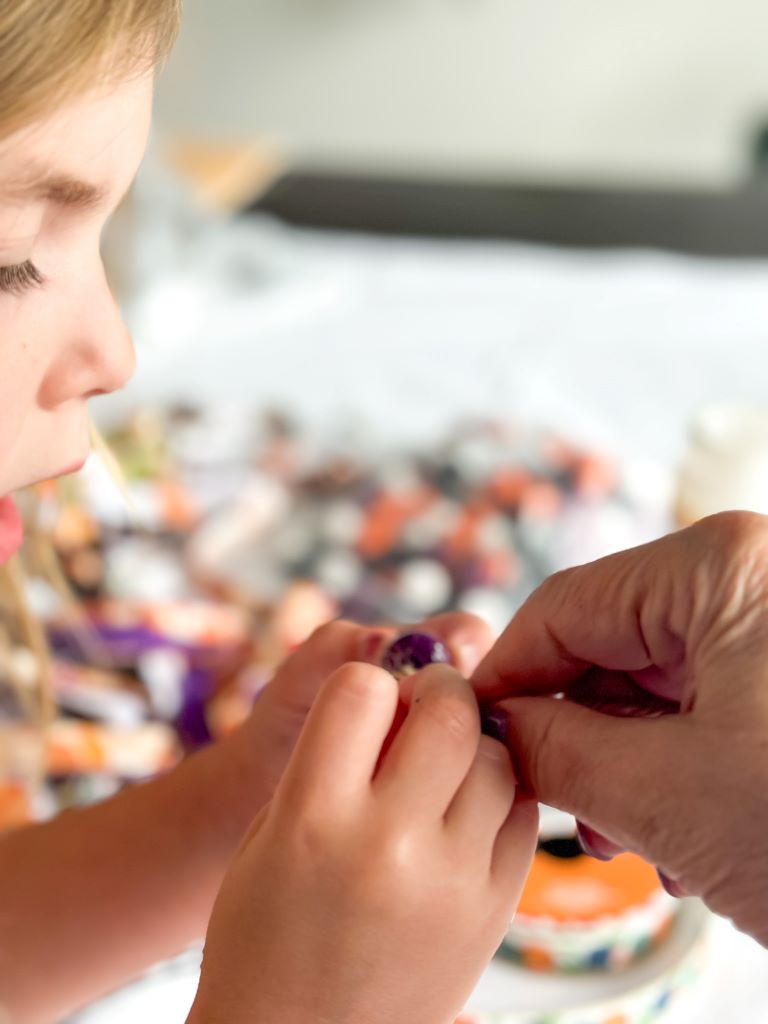
My oldest granddaugther has been passionate about crafting since she was very little. So, I’m always trying to come up with crafts that she can help with, and also ones that can be used in her home. That way she can always see what she helped create, take pride in her work, and enjoy it! This DIY Halloween home decor project was definitely a labor of love and one that I hope her and her sisters will love for many Halloween’s to come!
Gather Your Supplies: Essential Elements for a Spooktacular Garland
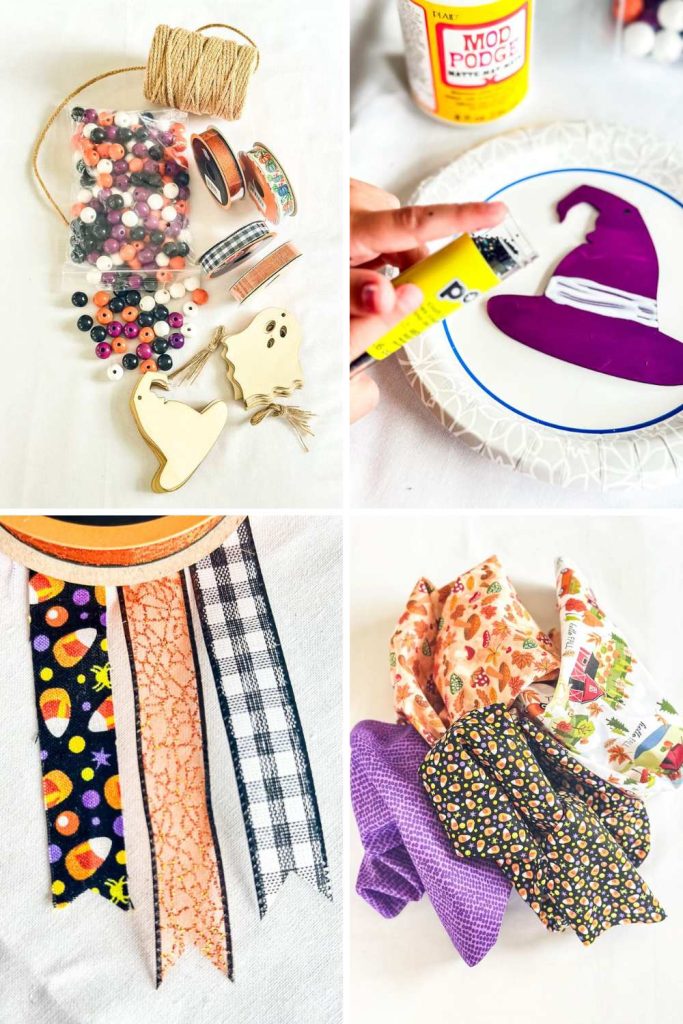
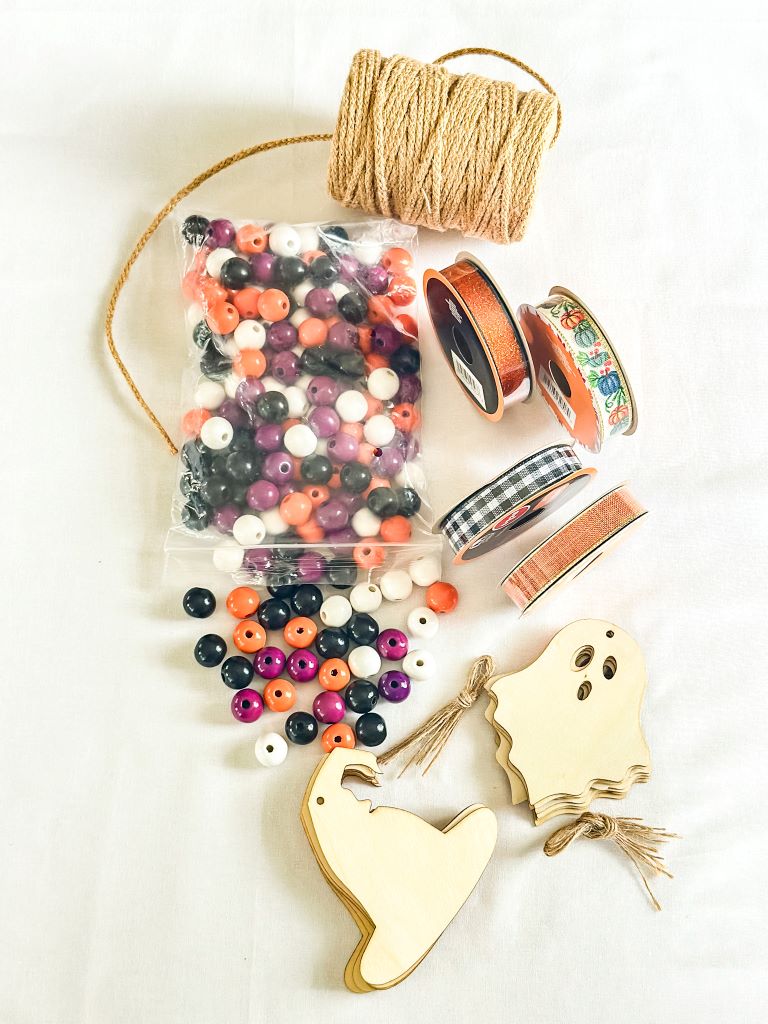
Like most crafts I do, the supply list is fairly small, and if you are a crafter, many times you will have some or all of the items on hand. For this no-sew garland you will need the following:
- Colored beads
- 4 different spools of ribbon
- Wooden ghosts and witch hats
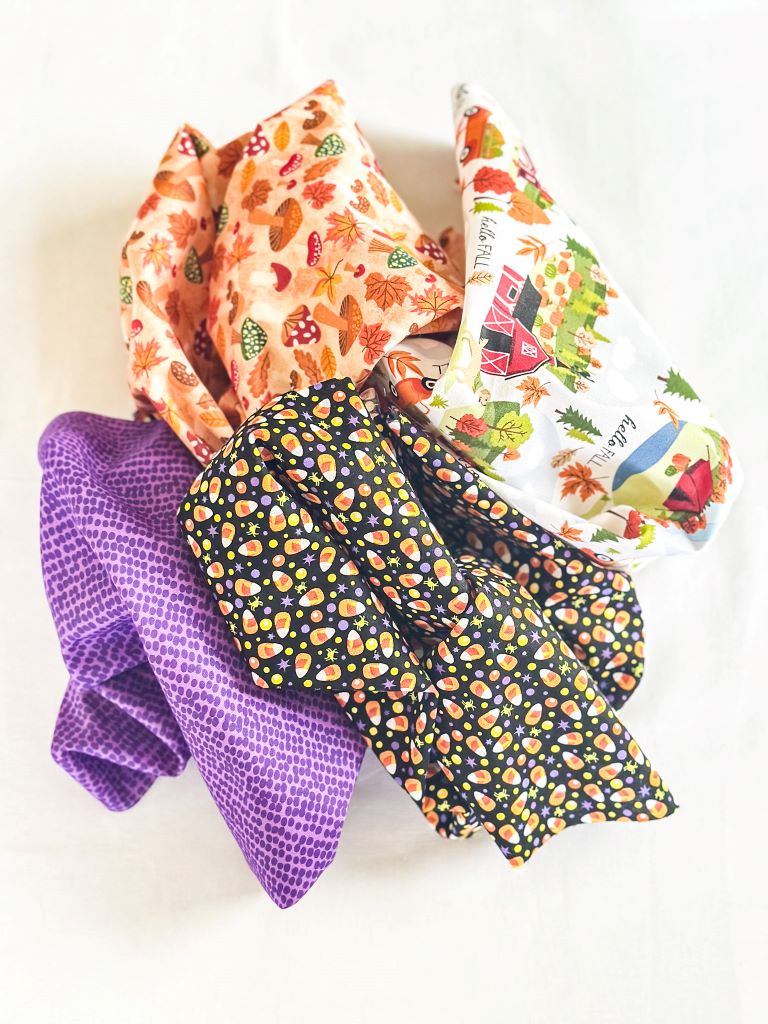
- A variety of autumn or Halloween fabric pieces
- Purple and white paint
- Small paint brush or sponge brush
- Black glitter
- Mod Podge
- Jute twine
“It’s Halloween! It’s Halloween! The moon is full and bright and we shall see that can’t be seen on any other night.” — Jack Prelutsky
Transforming Fabric Scraps & Ribbon: The Art of Cutting
Making blankets for a cause, has given me quite the assortment of fabric scraps. However, my local dollar store had some really perfect seasonal pieces, so I added a couple to what I already had. While I used five different fabric patterns, feel free to mix and match any fabrics you have and those that compliment your color scheme.
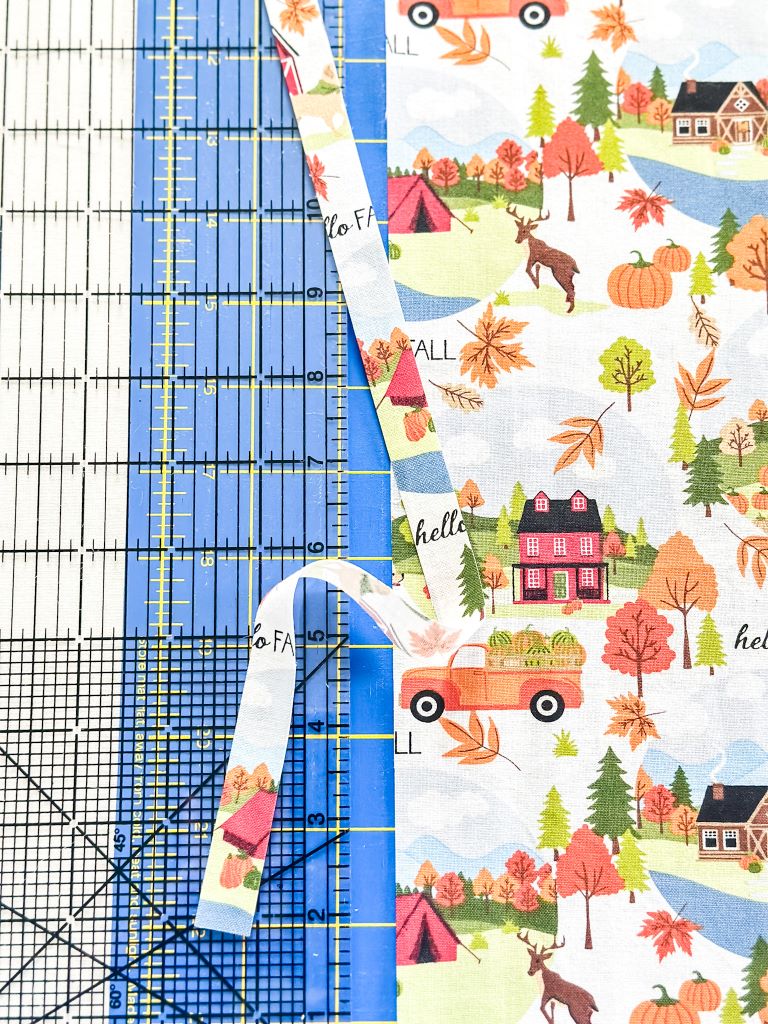
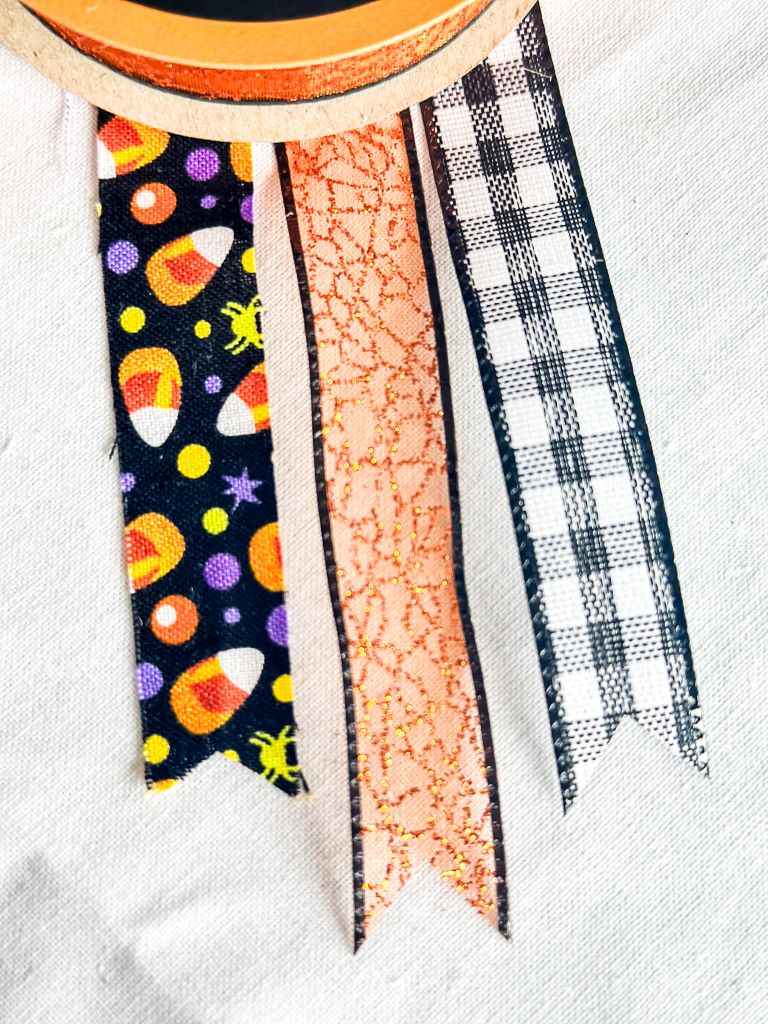
I cut the fabric strips and ribbon to be 18-20 inches long and about half an inch wide. Depending on how long you cut your garland, will depend on how many strips you will need. I cut about 70 pieces of ribbon and fabric combined, give or take. As an optional step, I cut a V-shape at the bottom of the ribbon, but this isn’t necessary.
Wooden Wonders: Painting Your Spooky Shapes
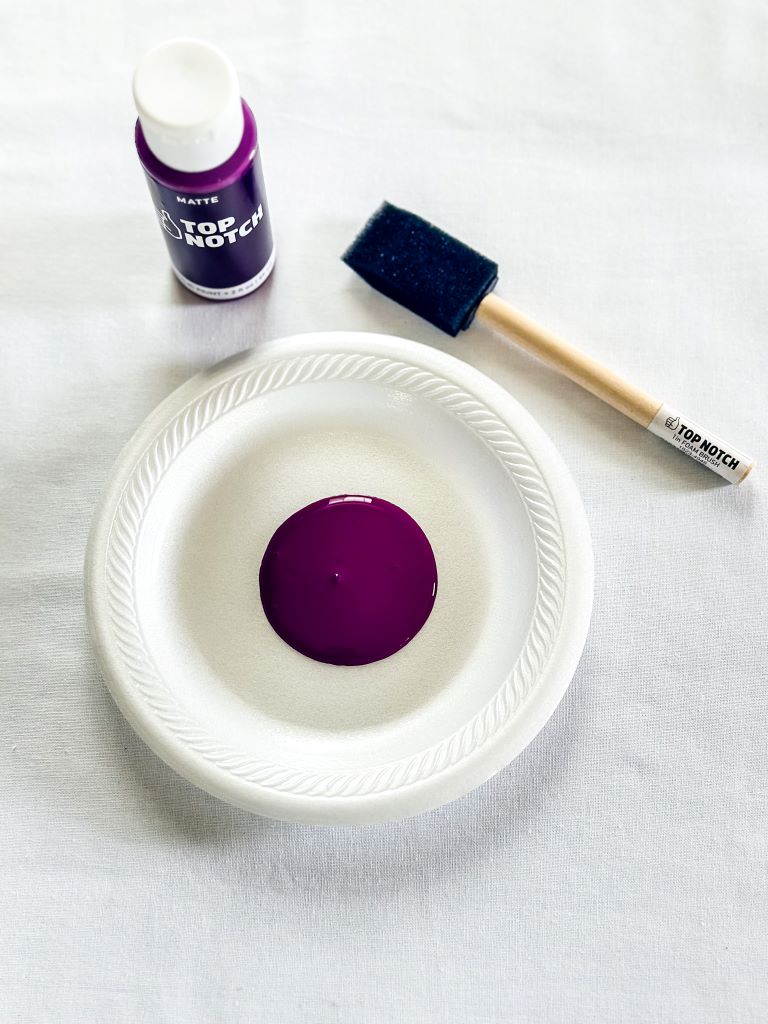
I used ghosts and witch hats for my no-sew Halloween garland, but you can use whatever you like or shapes that you can find. I chose white paint for the ghosts to keep them traditional, and I wanted to make sure I added purple to my garland, as I have three granddaughters, and they LOVE the color purple! If purple doesn’t work for you, use an alternative color for the hats.
Using a disposable plate for your paint is a great way to keep your workspace clean and organized. There’s no mess and it also makes the process of painting so much easier.
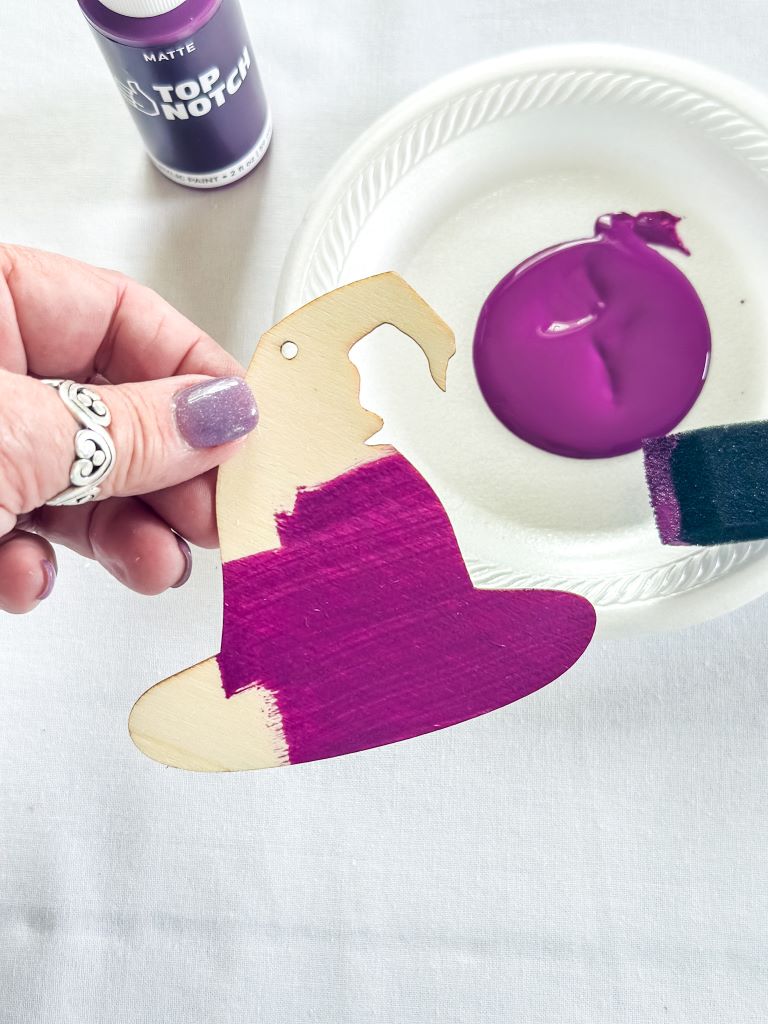
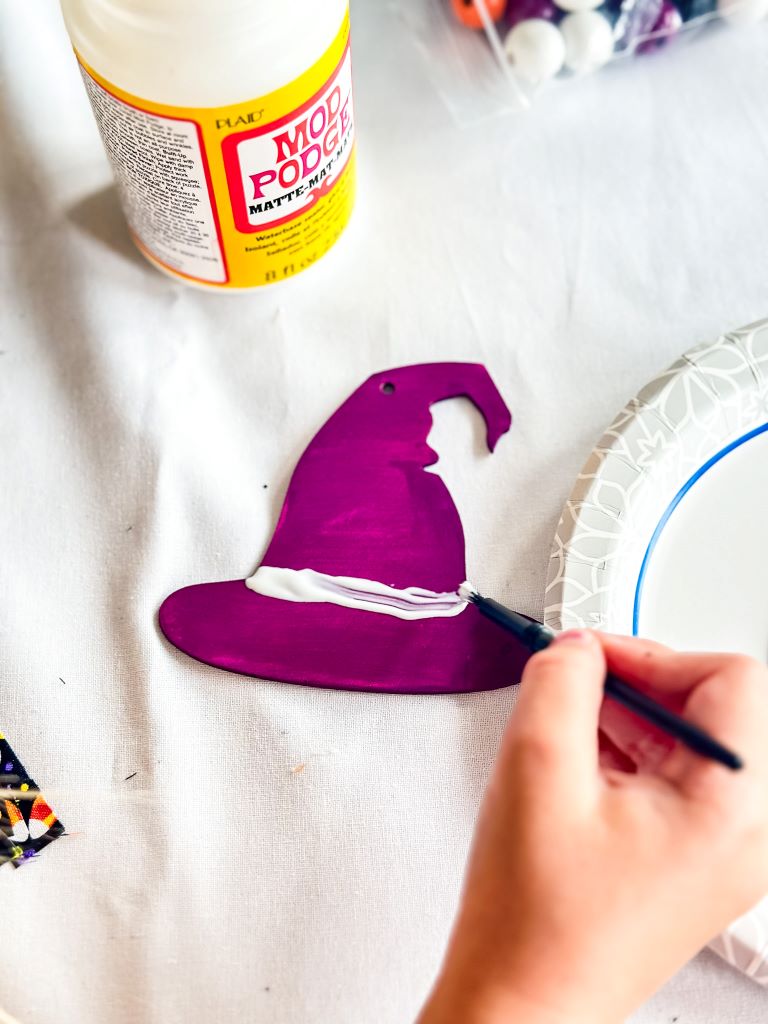
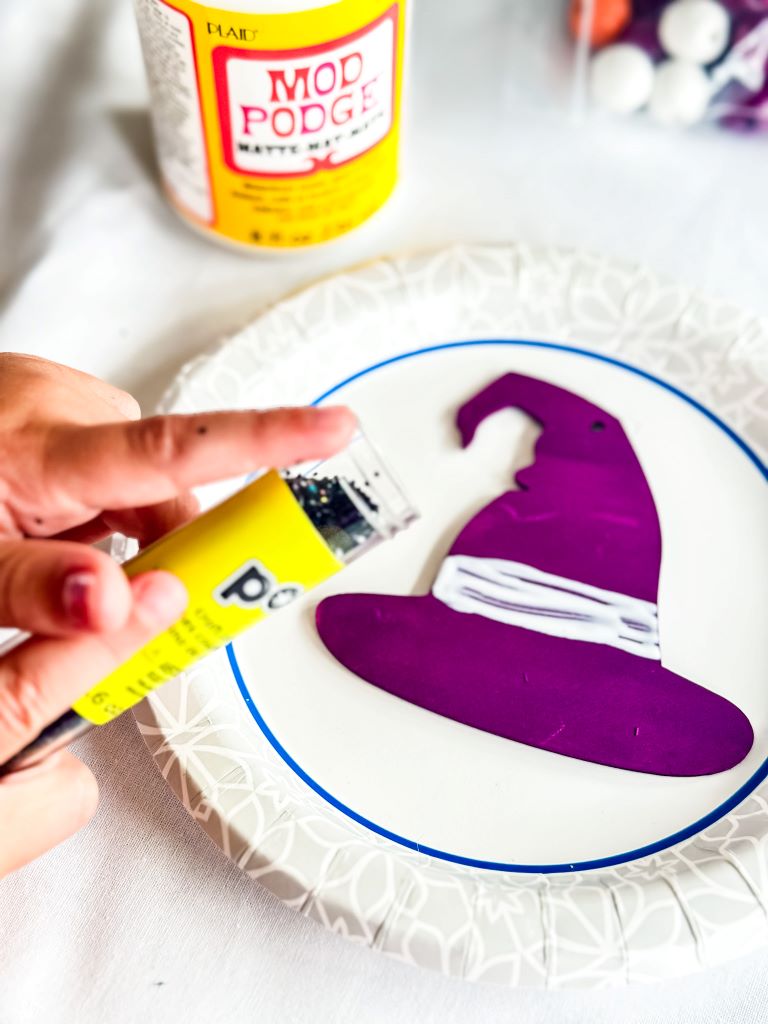
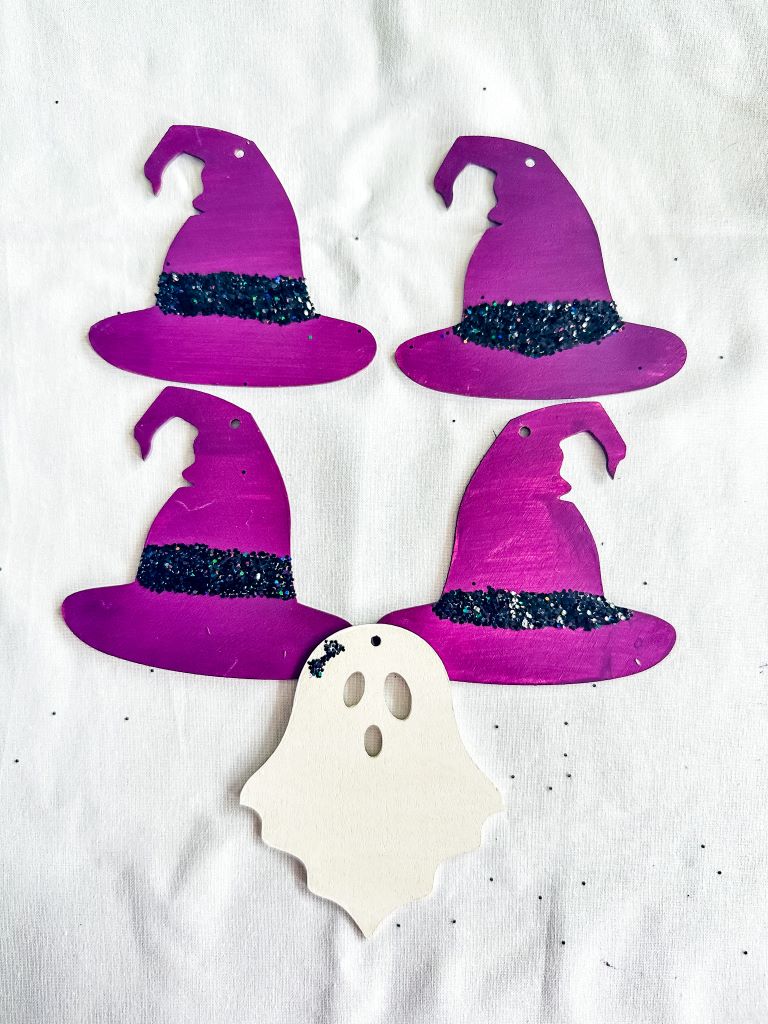
Once the hat’s were painted and completely dried I added some black glitter to them. Everyone needs a little glitter in their life, right? Using the Mod Podge, I painted a small line across the hat and then sprinkled with glitter. I also added bows to a few of the ghosts, but not all of them. It’s up to you, how you want to do it.
Are the lines perfectly even? The answer is no. This project is ideal to do with the littles in your life, so let them have fun! No perfection needed!
Stringing Up the Fun: Creating Your No-Sew Garland
Get started by cutting your garland to your desired length and then knotting one end to secure it. I always use a double knot on each end.
From there, follow this simple pattern:
- Add 4 beads (create a color pattern of your choice) then make a knot to secure them in place.
- Add a 3 pieces of fabric (by knotting onto the twine).
- Add a witch hat.
- Add 3 more pieces of fabric.
- Add 4 beads and knot
- Add 3 pieces of fabric.
- Add 4 more beads and knot.
- Repeat steps 2-7, alternating between the witch hat and ghost until you reach the end of your garland.
- Knot the end of your garland to secure it.
And that’s it! You’ve just created a fun and festive no-sew Halloween garland.

A Spooky Good Time!
That’s all there is to it! This festive rag garland is complete. With just a few simple steps and no sewing required, you can create a festive and personalized Halloween garland to decorate your home. Creating your own DIY garland is a great way to add a touch of Halloween charm to your home without spending hours crafting. Hang it above your mantel, doorway, or anywhere else you want to spread some Halloween cheer.
Happy Halloween!

Don’t forget to follow me on Instagram and Pinterest!
Shop My Favorites





This is so cute! Such a great way to use ribbon and the witch hats and ghosts are adorable! Pinned!
Thank you, Missy! Fun and easy, for sure!
I love this garland! I never thought about adding the wooden pieces. Great idea Kim.
Thank you, MaryKay! It was fun to make with the grands!
How adorable, Kim.
Thanks so much, Tammy! So easy, too!
This is so darn cute, Kim. I can’t wait to share a link to your garland in my recap post tomorrow. Hugs!
You’re so kind! Thanks so much, friend! xo