

Well, here we are in the midst of summer and I thought it would be fun to share my summer garden progress. If you are gardening, you’re probably half way through your season and already enjoying the fruits of your labor. If you aren’t a gardener and would like to try your hand at it, you can see how easy it is to start vegetable gardening in my post Simple Tips for Starting a Raised Bed Garden.
This creamy homemade dill dip is made with fresh dill straight from the garden! With just a handful of simple ingredients and 15 minutes of prep, it’s the perfect summer dip for veggie trays, crackers, and backyard gatherings. Make it ahead! It only gets better as it sits!
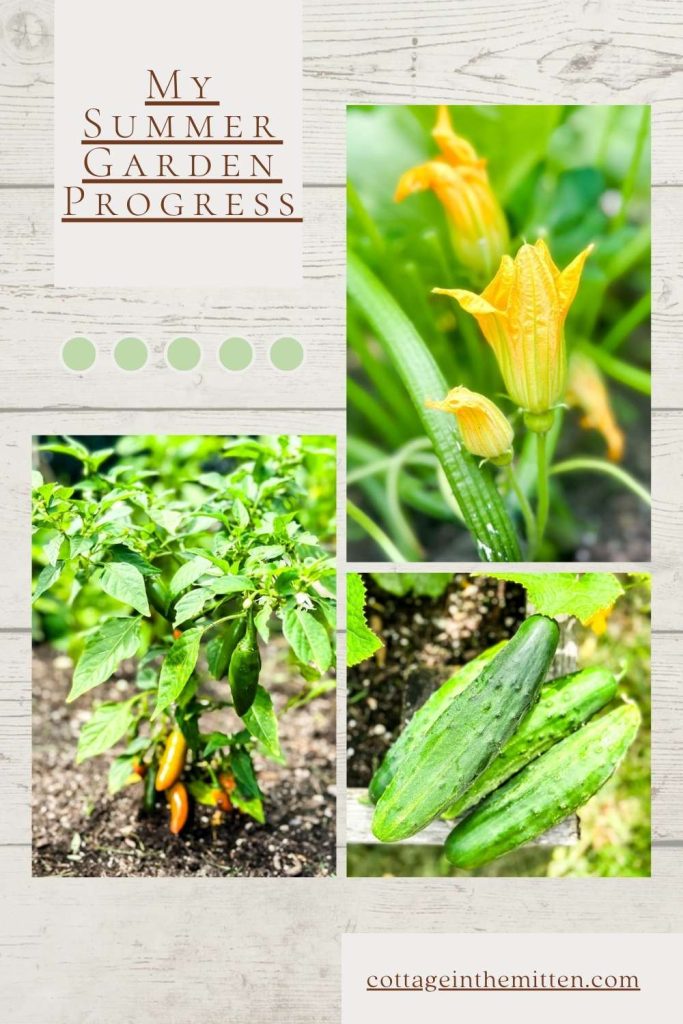
Our Garden’s Growth So Far
Living in Michigan, the gardening season is short, so you have to work hard and make the most of it while it lasts.
I wanted to give you an update on our backyard family garden. So far, our garden has grown well, but we did have one or two pests we had to deal with. Below is a recap of how we started, what we’ve done, and how it looks to date!

Seed to Supper: Nurturing Our Garden from Scratch
My middle son, Mitchell, loves all things cooking and gardening. He loves to grow most everything in his garden from seeds he has nurtured and grown himself. His goal is to harvest those crops; canning and freezing them for the winter months. It’s also a wonderful way to save money at the grocery store! Mitchell was very generous to share some of his seedling plants with us.
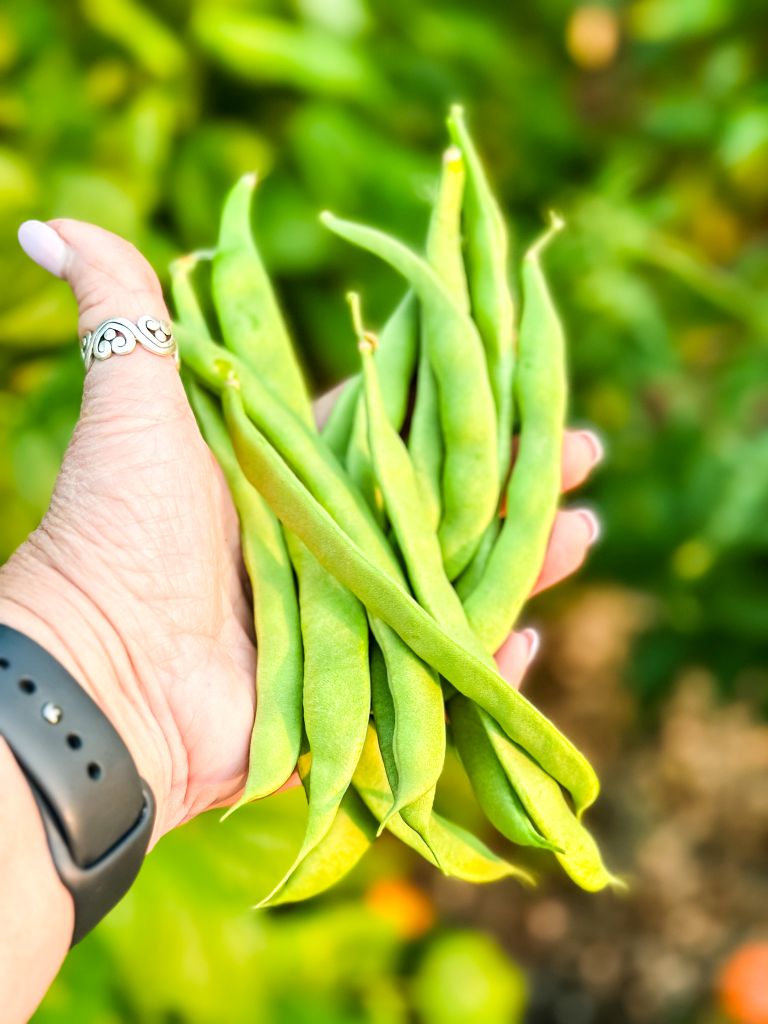
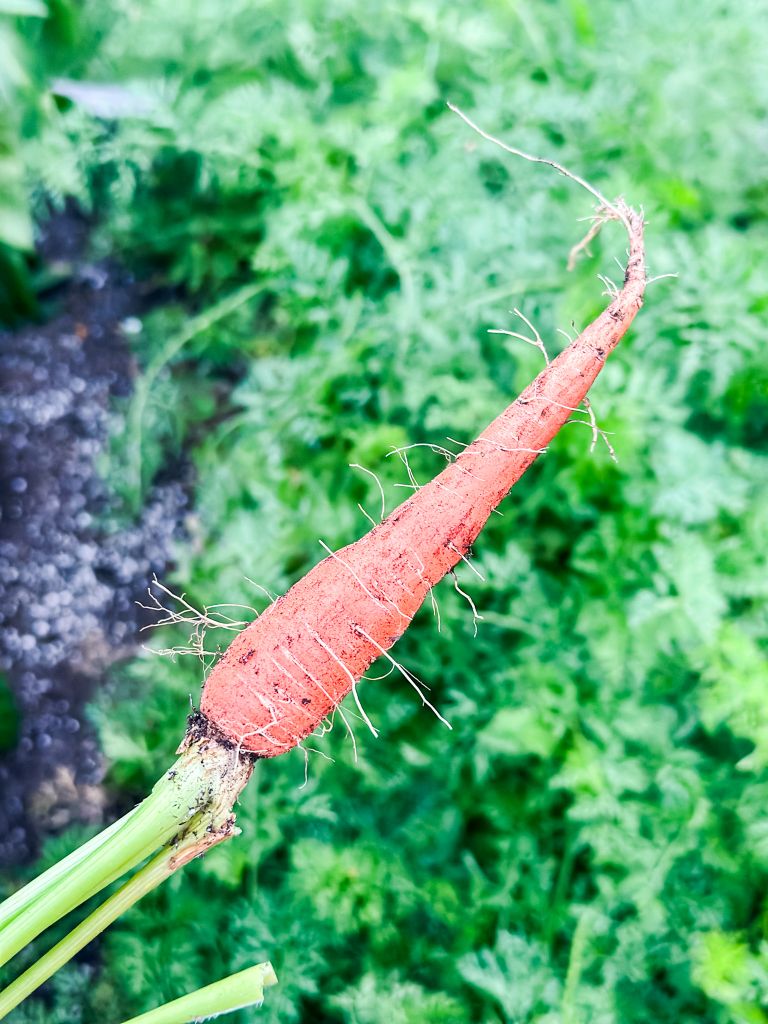
With a combination of seed packets, some nursery bought plants and my son’s seedlings, we planted our Michigan garden, at the end of May. We planted corn, beans, carrots, tomatoes, cucumbers, snaps peas, green onions and various kinds of peppers. I’m happy to report, that it has been a great year for gardening success!

Nurturing the garden has been a priority since planting. Especially, because some of the seedling plants were quite small when they were first planted. Think of your seedlings and small plants as babies. They require tender loving care to thrive, insuring they have the best opportunity to flourish.
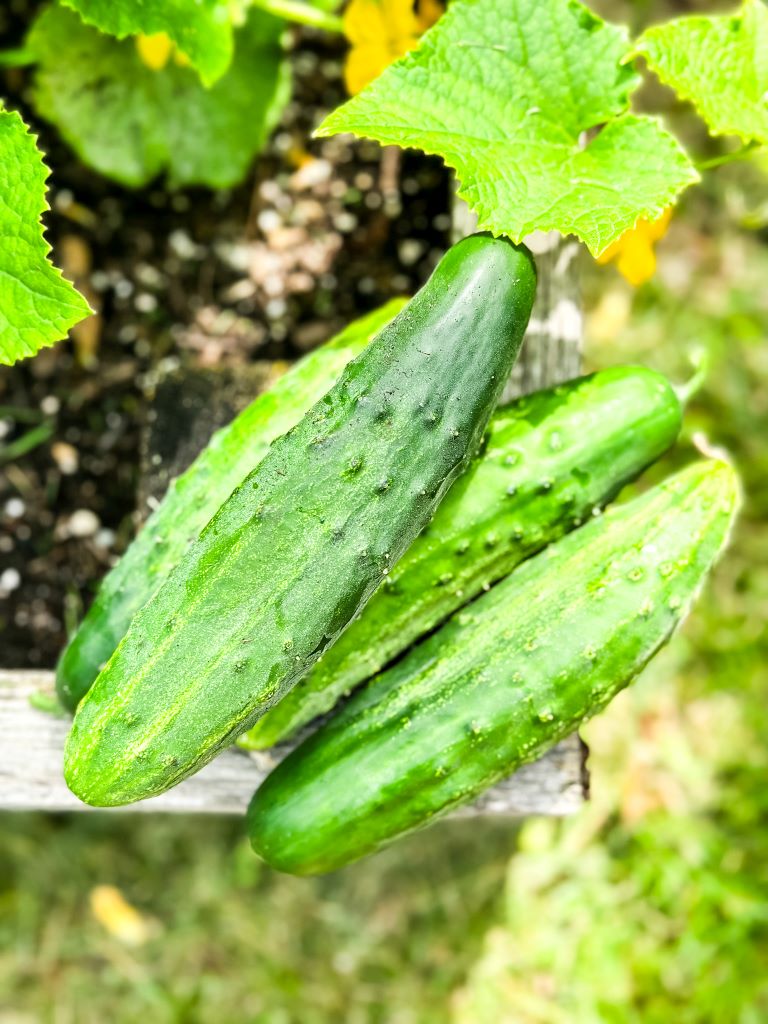
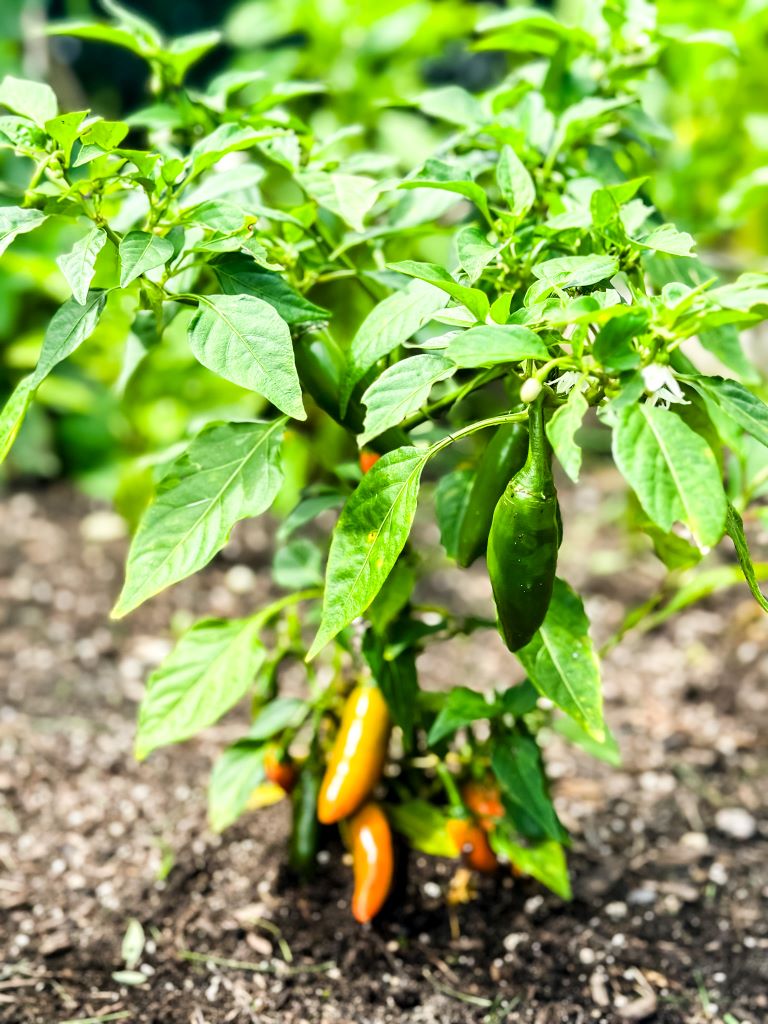
A few helpful tips
“The glory of gardening: hands in the dirt, head in the sun, heart with nature. To nurture a garden is to feed not just the body, but the soul.” – Alfred Austin
DIY Trellis Addition: Cattle Fence to Climbing Frame
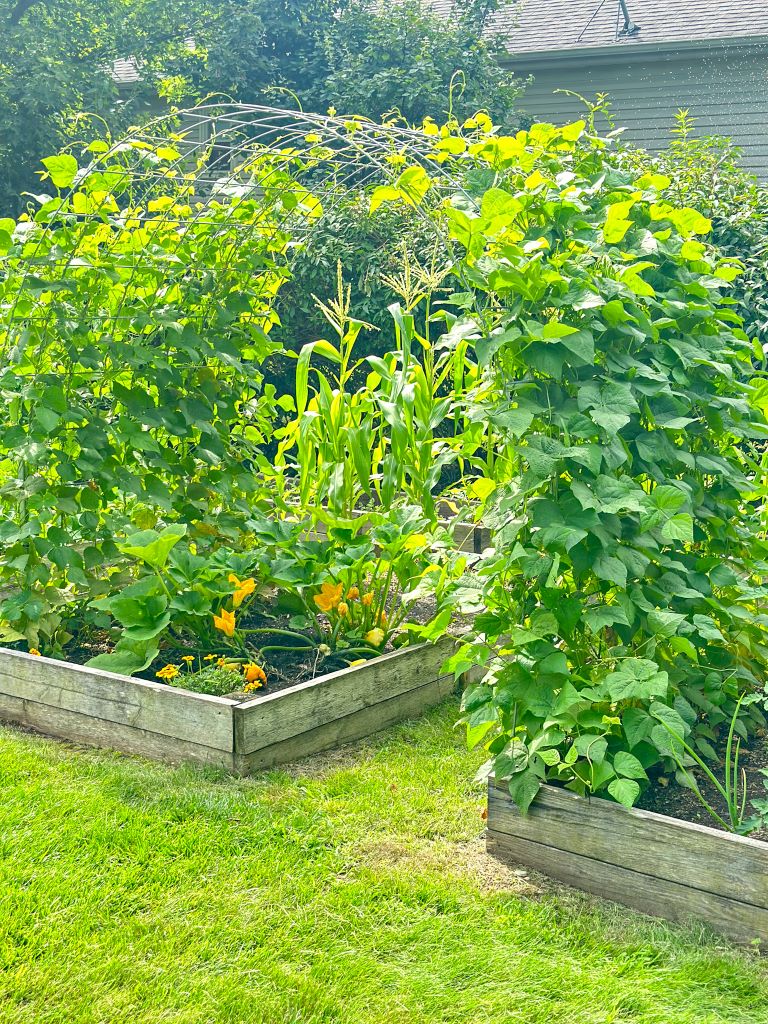
My favorite addition to the garden has been our cattle fence trellis. Have you seen the videos online of how they can be used? If not, let me tell you all about it.
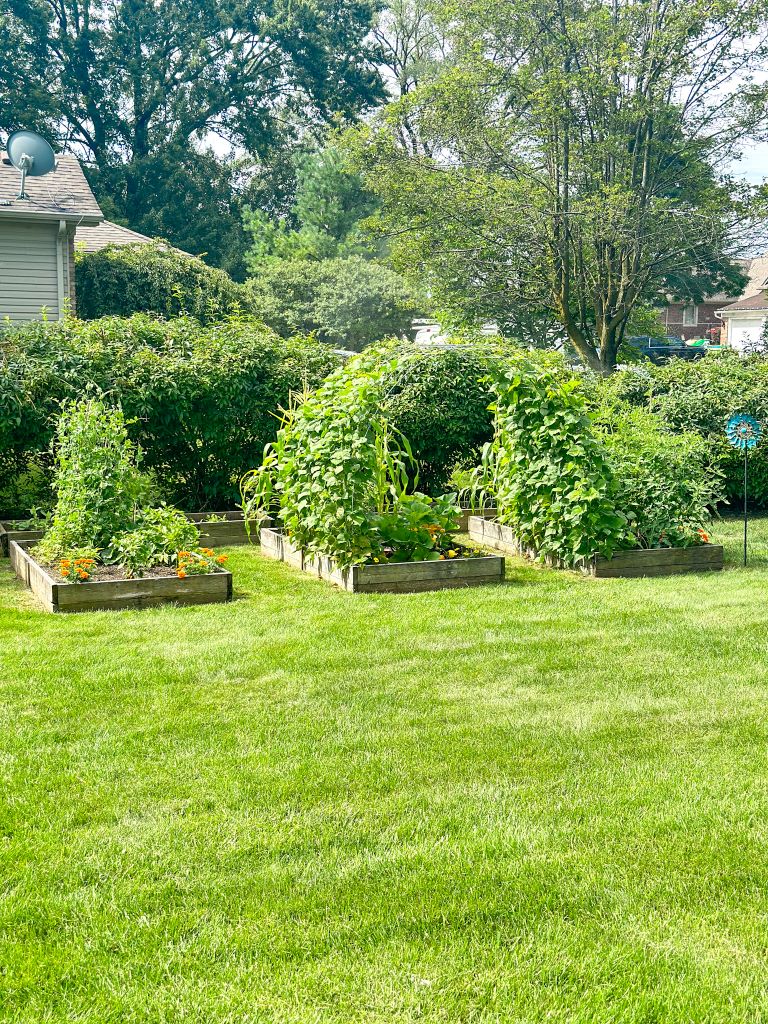
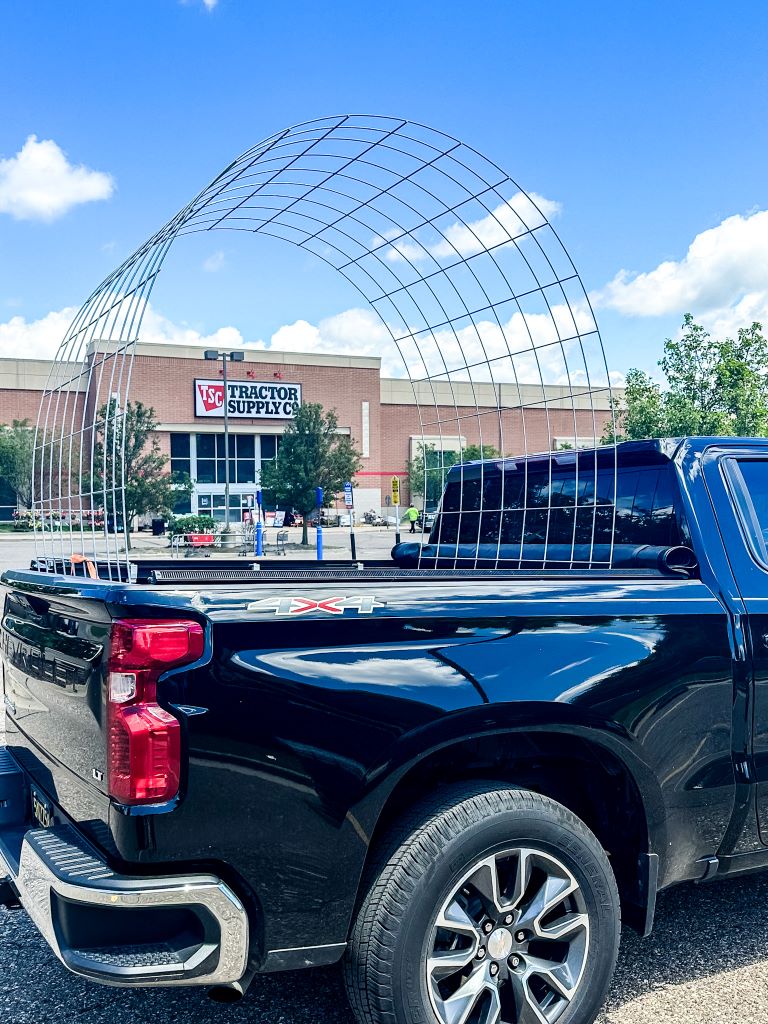
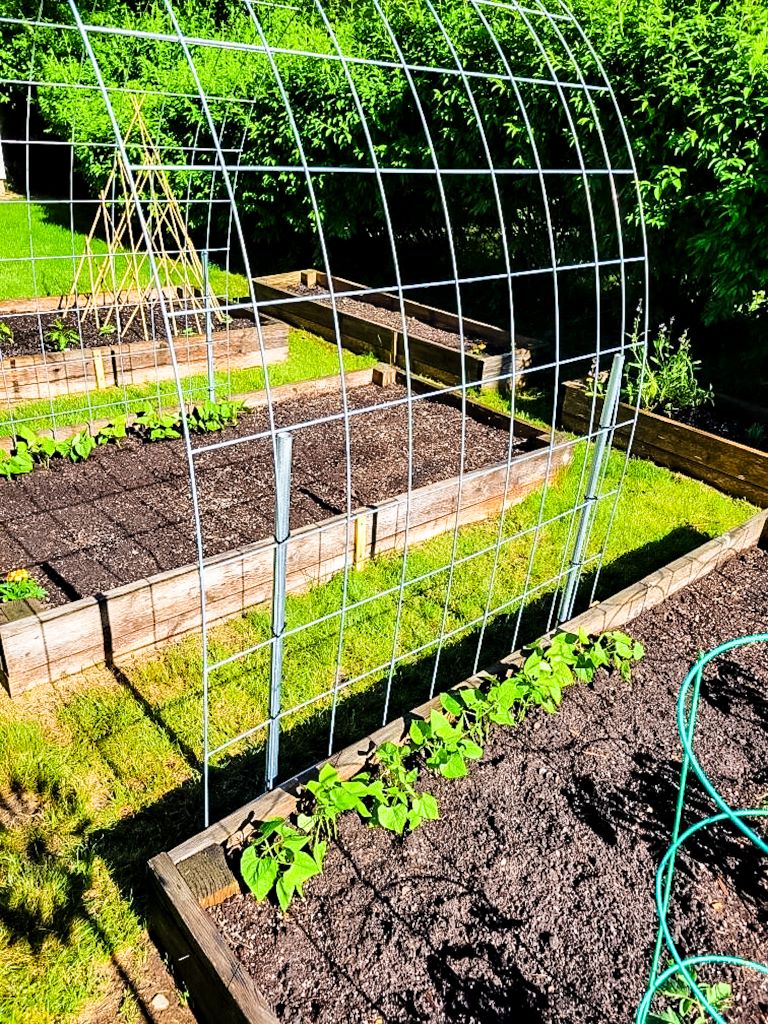
My family is crazy about beans, so I decided to add more to the garden this year. To accommodate my bean-growing ambitions, I knew we needed a larger trellis than the one we used last season. I did my research and decided cattle fencing was the way to go. This fencing is a low cost alternative for a large, sturdy trellis. They can be bent into an arch and because of it’s strength and durability it makes it an ideal material for supporting climbing plants like beans, peas, and cucumbers.
Using Big Al’s truck we easily transported the cattle fence and installed it from one bed into the next. It only cost $27 and can be used for years to come.
As you can see by the picture below, it was a great decision and the beans are flourishing!
The Beauty and Bounty of Our Vegetable Garden
Have you ever stopped and really enjoyed the beauty of your vegetable garden? Growing our own vegetables has made me realize that it’s not only rewarding by the veggies yielded, but the garden is also a beautiful addition to any outdoor space.
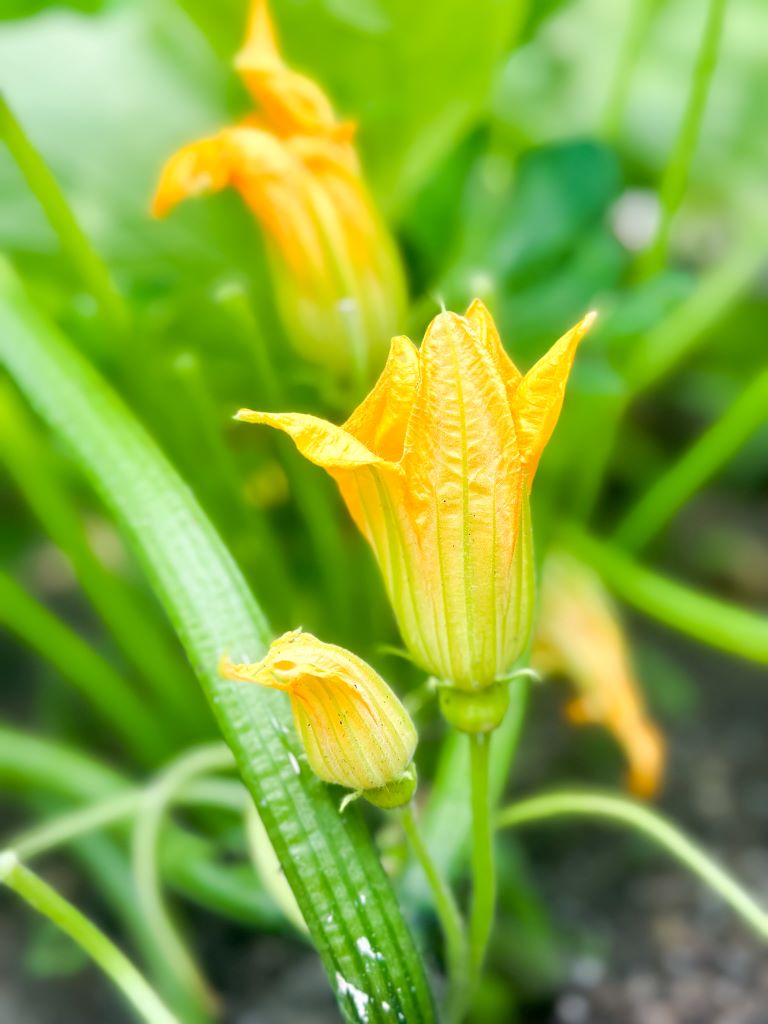
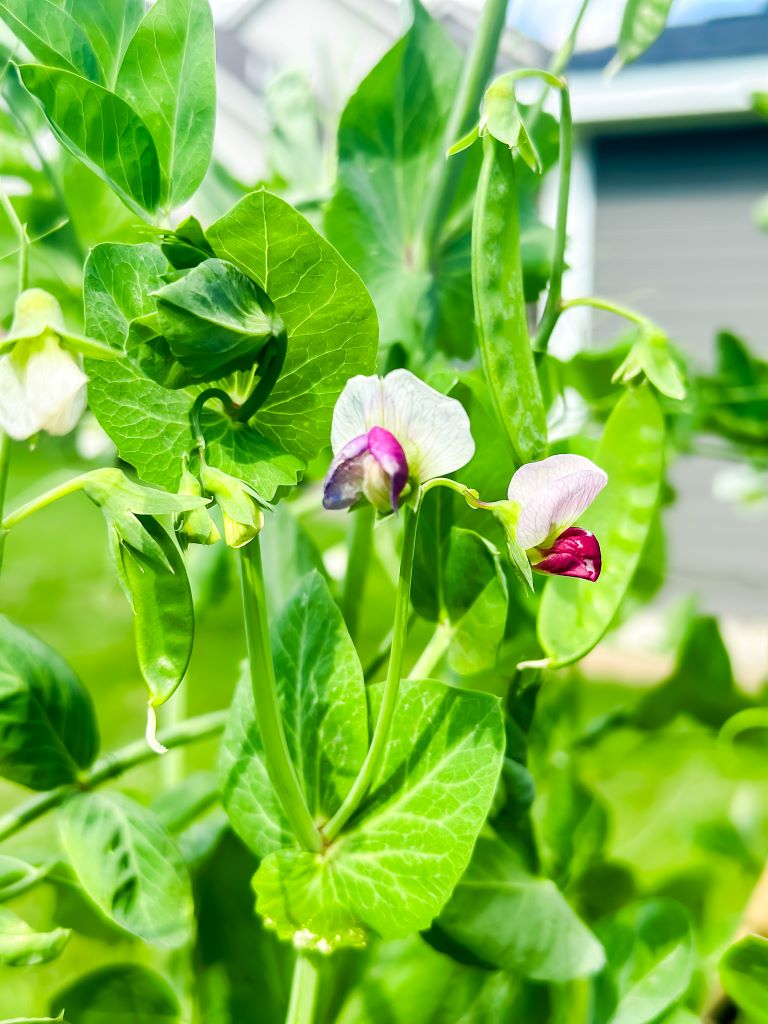
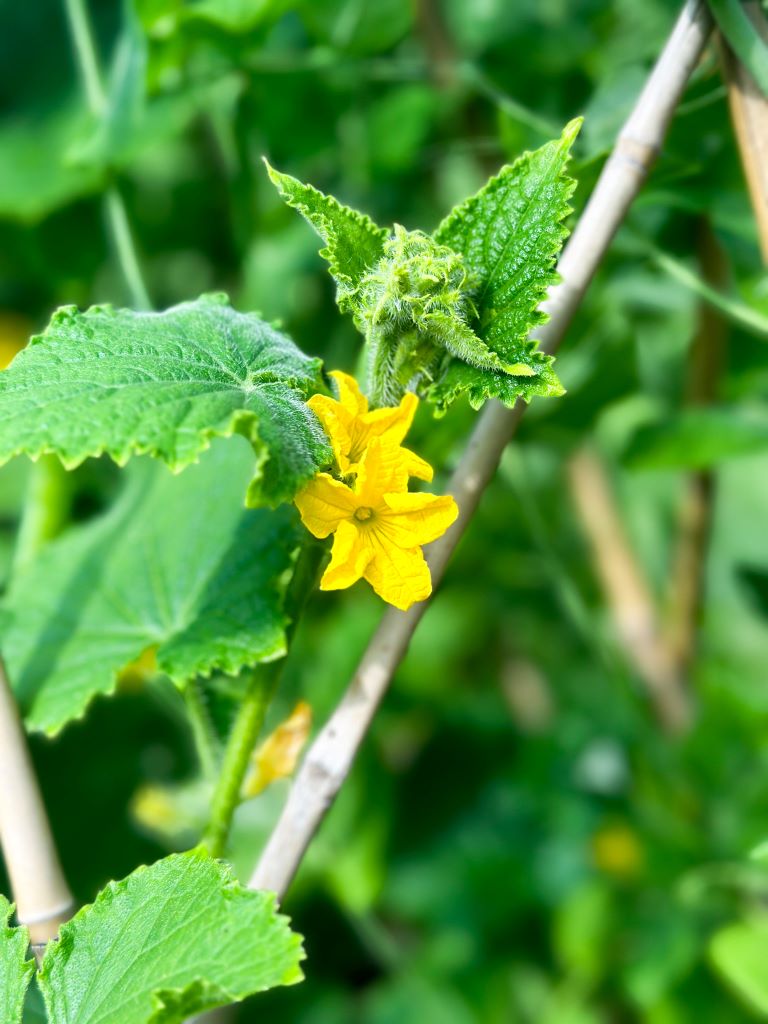
Our garden has become a canvas of color and flavor. While weeding the garden, I noticed how beautiful all the flowers were on the various plants we’re growing. Vibrant colors of purple, yellow and white.
It is a great reminder that the gardens we grow provide us with not only food, but beauty too! What a blessing!
“He makes grass grow for the cattle and plants for people to cultivate—
bringing forth food from the earth.” – Psalm 104:14
Transplant Triumphs
Do you keep a garden journal? It’s one of the method’s I use for Easy Ways to Maintain a Raised Bed Garden. Each year when gardening season rolls around, I reflect on the previous year’s successes, failures, and plant placement. With five raised beds, I enjoy rotating crops annually to maintain the soil health and prevent plant diseases. Keeping a garden journal handy helps document this, from year to year.
Growing up, we always had a sage plant in our garden. My mother never removed it and it withstood the cold Michigan winter; bouncing back each spring. With memories of this, I left our sage plant in the raised bed through the winter and crossed my fingers that it would make it through the bitter cold.
It did survive, however, based on my garden journal I had other vegetable gardening plans for the bed it was in. So, I crossed my fingers again, and transplanted it into it’s new raised bed home.
I’m happy to report, that the sage plant has thrived and I recently picked some leaves to dry. I’ll soon be sharing my simple method for drying sage. Stay tuned for tips on preserving this flavorful herb!
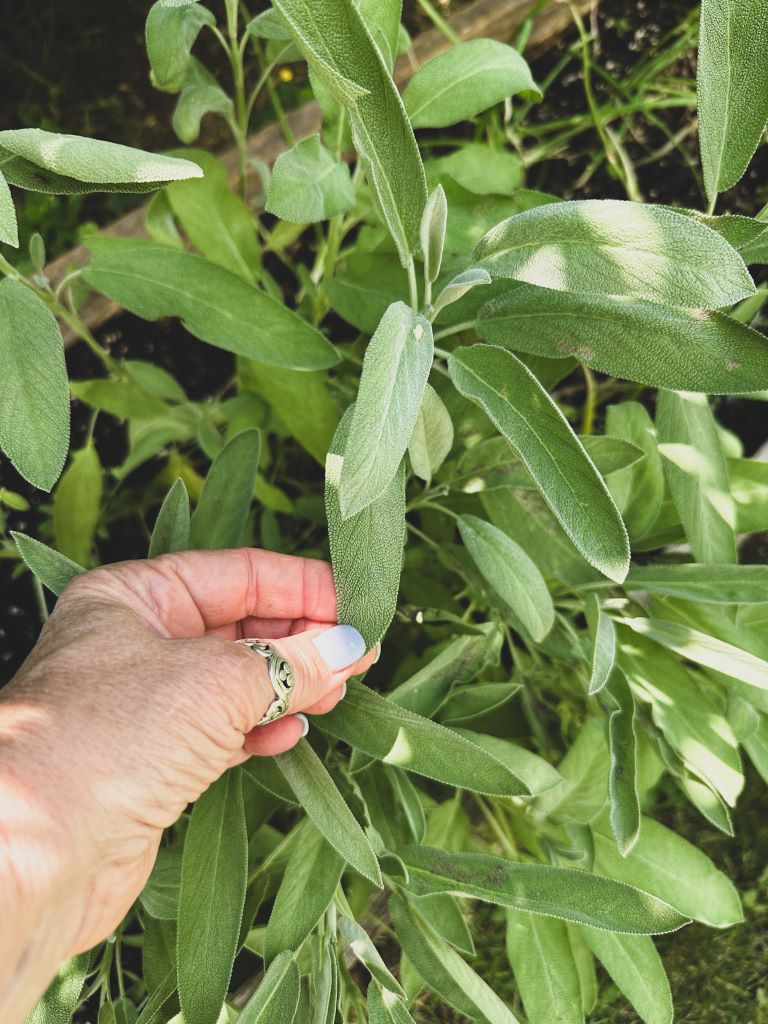
“Gardening is learning, learning, learning. That’s the fun of them. You’re always learning.” – Helen Mirren
Overcoming Challenges: Lessons Learned in the Garden
With gardening, there are always challenges and new lessons to learn. This gardening season, our nemesis has been earwigs. Big Al and I have gardened plenty, but never have we battled these bugs like we have this year.
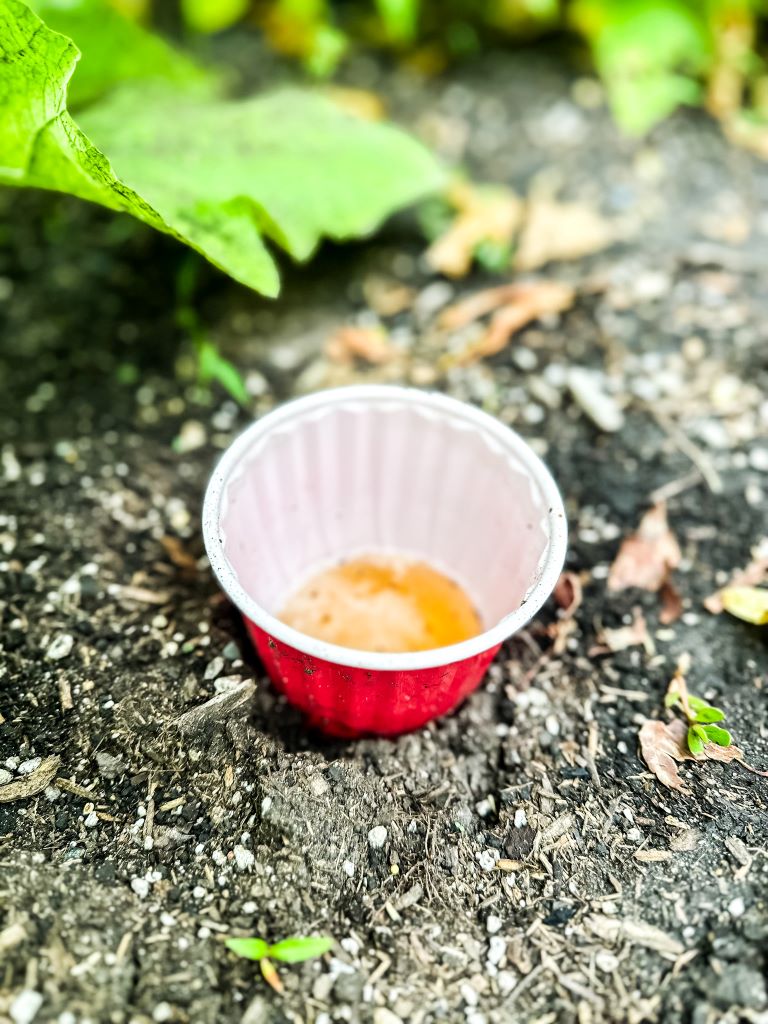
Besides using the insecticidal soap on our garden, to keep it healthy, we needed to try something else to eradicate the earwigs. Our son, told us about a technique he uses, so we gave it a try and it worked wonderfully.
It’s a simple process. Dig a whole in your garden soil and add a solo cup with the top resting near dirt level. Once in the ground, fill the cup with beer. That’s right, beer! The earwigs (and slugs) wanting the beer, will crawl in the cup, but then cannot get back out. With this method, you will have to continually empty the cup, of those nasty bugs, and refill it. We replace it twice a week.
A fabulous gardening tip and a lesson we will definitely use again, if necessary. I’m not saying it will work for everyone, but I can tell you it was a great gardening tip that worked really well for us.
Our Growing Culinary Adventure
There you have a little gardening progress from the beginning until now. I’m so grateful that we have a garden to grow and enjoy!
I hope the remainder of your gardening season is a huge success and that your veggies are plenty!
Happy gardening, friends!

Don’t forget to follow me on Instagram and Pinterest!






WOW!!!! Everything looks so good!! Love the cattle fencing.
Thanks friend! I’m so glad we put that fence in!
Everything looks fabulous Kim!
I have not had much luck with anything I planted this year. The deer have eaten everything! I am going to have to make a new plan for next year.
Have a wonderful week.
Those deer! Gardening is so much fun but can be challenging! Enjoy the rest of your week!
It looks lovely, Kim! We had to fence our raised tomato bed because of groundhogs…now raccoons have learned to get in the fencing. Navigating it becomes a daunting new game!!! Enjoy all of your abundance!!!
Thank you! My son is having a groundhog problem, too! Happy gardening, Leslie. Hope you get rid of the raccoons!