

As someone who loves a touch of cozy, natural beauty indoors, I’ve always admired everyone growing beautiful paperwhites in the dead of winter. But I have to admit, I’ve never grown them myself. This year, I decided I was going to change that and document the whole process for you. If you’ve also been intrigued by these fragrant bulbs but aren’t sure where to start, consider this your first-timer’s guide! I’m happy to report, it’s extremely easy, incredibly fast, and adds a touch of cheer to your home this winter.

“My family feels generally peaceful and connected to one another. And in my kitchen, between spirited conversations, too many dishes, endless cups of tea and meals prepared, I make sure I steal a moment daily to breathe in the gifts of my paperwhites, swooning with their jasminy potency…” – Jenny Wonderling
Affiliate links are used in this post. I earn a small fee by linking to their sites. Read my full disclosure here.
Why Grow Paperwhites? The Perfect Beginner Bulb
I enjoy pretty things from home decor, books and gardening. I also like pretty things that are easy to create. Paperwhites are the perfect project to achieve both. They grow quickly, usually blooming within 3-6 weeks. They can be grown with soil or in rocks. What’s easier than that? On top of their easy growing options, paperwhites help combat the winter blues with their vibrant blooms. Easy and beautiful…the best combo!

What You’ll Need: A Simple Supply List
As with most of my projects, the supply list for growing paperwhites is small. The best part about forcing paperwhites is that you don’t need a garden shed full of tools to do it. In fact, you probably already have most everything you need, right at home, with the exception of the bulbs. Just gather these few essentials below and you’re ready to start!
Pro Tip
For the first 1-2 weeks, place your container in a cool (60-65°F), bright, but indirect light spot. A north-facing windowsill, a bright garage, or a cooler room in your home. A cool, bright start encourages strong root growth and sturdy stems.
Paperwhite Supply List
How to Plant Paperwhite Bulbs: My Step-by-Step Guide
As a first timer, I will tell you that planting paperwhite bulbs is much easier than you may think. There’s something so fun and hopeful about tucking those bulbs into their new home! Follow my visual step-by-step guide below to learn how to plant your paperwhites correctly, ensuring they have the right amount of support and water.
What to Expect Week-by-Week
Step 1: Prep Your Bulbs and Container
Choose the best bulbs. This means, select bulbs that are firm, plump and free of major blemishes, soft spots or mold. Having a papery outer skin is okay and normal. Most packages I found had 4 to 5 bulbs in each. Actually, my package had a very small piece of a bulb with no shoot. I planted it anyways just to see what would happen. To my surprise, it’s growing at the same rate as the other bulbs.
Next, make sure the container you choose is clean. Whether it’s a thrifted find or something you already own, wash the container with warm soapy water and dry thoroughly. This will remove any dust or leftover residue that could produce any bacteria and nobody wants that!
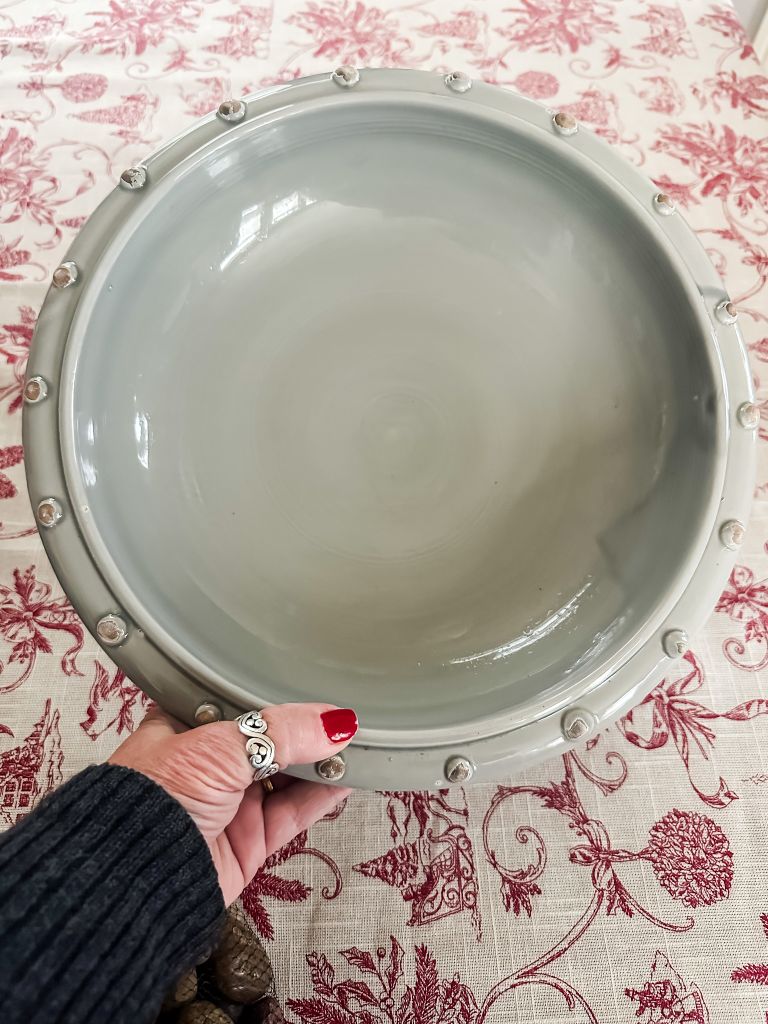
Step 2: Position Your Bulbs & Add Support
I started by adding a generous amount of river rocks. I purchased two different sizes. I wanted larger rocks and also some smaller ones to fill in and help surround and support the bulbs. Position the bulb with the “sprout” up and do not completely bury the paperwhites. I simply shifted the surrounding rocks to wedge each bulb securely in place.
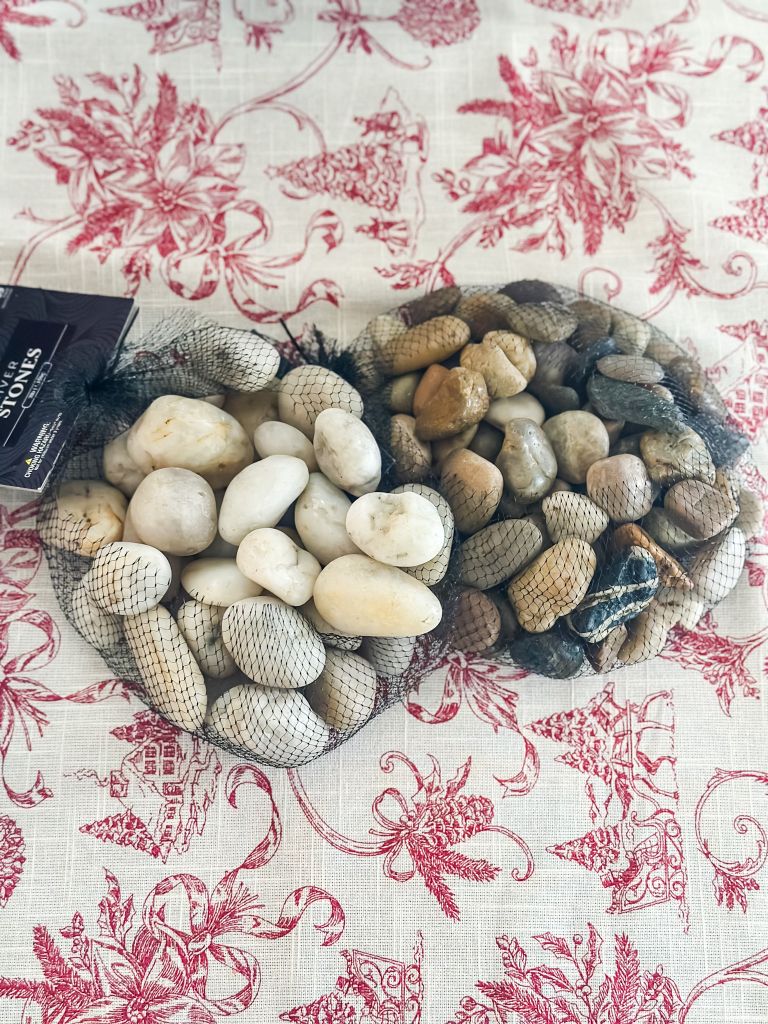
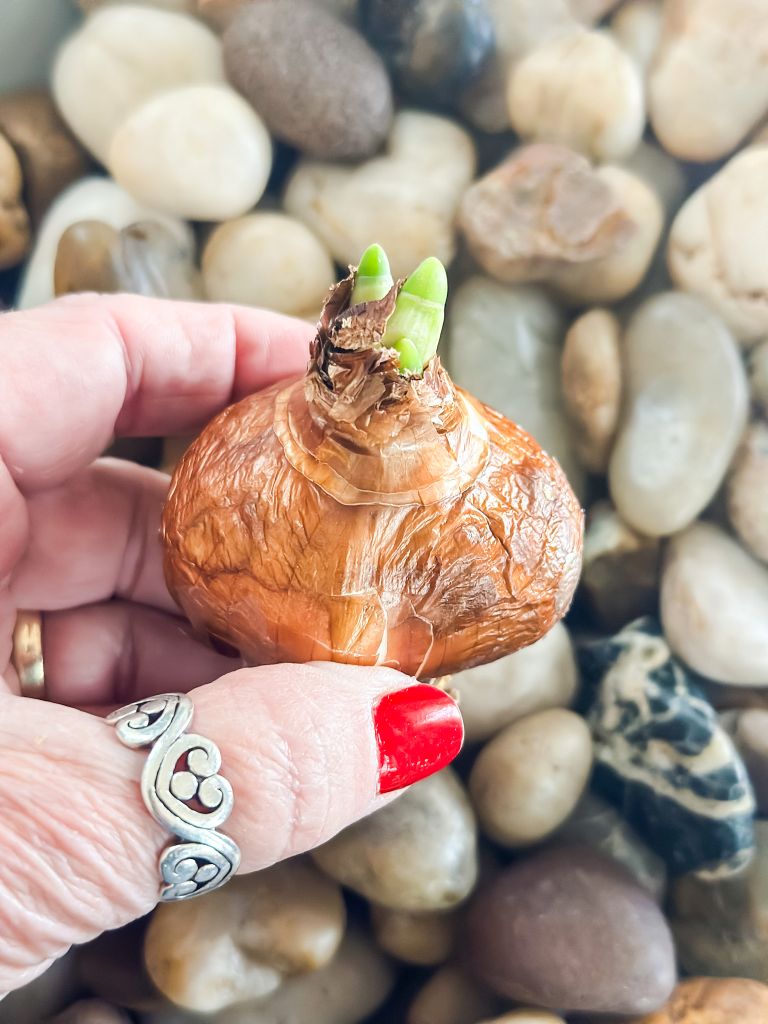

Step 3: Watering and Placement
After you plant your bulbs you have two important things left to do. Water your bulbs and place them in the proper place. I slowly added water until the level just reached the bottom of the bulbs. The bulbs should feel the water but not sit in it. In my bowl, I watered until I saw it glisten between the rocks at the base of the bulbs.
I placed mine on a decorative cabinet in my laundry room. The room is heated but has ceramic tile and sits next to the back door, which is opened frequently to let the dog out. Therefore, the room stays cooler than the rest of the rooms in my home. Once you see a few inches of growth, you can more them to a warmer, well lit area to display.
As a first time planter, I was nervous about over watering. I checked the bulbs every two-three days and when I could no longer see the water between the rocks, I watered. It’s been several weeks and my method has worked great!

Happy Growing!
Well friends, just like that my first paperwhite adventure is underway! Watching those green shoots get taller has been a joy giver in the midst of snowy days. I hope my guide gives you confidence to try planting your own paperwhites. If you’re looking for a simple rewarding way to brighten your space this season, this is must try! If you do plant them, I would love to hear all about it.
By the way, once my paperwhites bloom, I’ll do an updated post and let you know how they’re doing and possibly share some different varieties to try.
Happy growing!

Don’t forget to follow me on Instagram and Pinterest and Facebook!


Paperwhites always look pretty at this time of the year.
Yes! I’m loving their addition.